The Static Site Guide • Chapter 7
Implementing Version Control
Now it’s time to talk about something completely different: Version control. Version control can help you keep track of changes to files over time and manage contributions from other individuals.
Version control’s premise is simple: Changes to your files should be tracked and reversible. If you’ve ever saved different versions of a Microsoft Word file by naming it my-document-version1.doc and my-document-verison2.doc, or if you’ve used the track changes feature in Microsoft Word, you’ve already used a crude form of version control.
A version control system like Git allows us to add this functionality to the source files of our website. With version control, it’s easy to tell exactly what changes we made to our website, and when we made them. Rolling changes back to a previous version of our website is simple.
When combined with an online code-sharing platform like GitHub, version control becomes a powerful collaboration, deployment, and backup tool. If you want friends or coworkers to contribute to your static website, using version control with a code-sharing platform like GitHub is your best option. Using GitHub makes a lot of sense even if you’re the only one contributing to your website.
How We’ll Use Version Control
We’ll use Git to create a repository, which in this case is our entire website directory with all of the associated files. We’ll have two instances of the same repository: One on our computer, and one on GitHub. Both instances will hold the files for our website. At any given time, the files in the two instances may be slightly different, but we’ll use Git to synchronize the files between the repositories.
GitHub has access controls that we can use to prevent others from accessing or making changes to the files in our repository without permission. We can make our repository public so anyone can view our files, or we can restrict access to our friends and coworkers.
In this chapter, we’ll install Git and GitHub Desktop on our computer, create a repository for our website’s source code, upload our repository to GitHub, and then practice making some changes to our website while using Git.
Before we dive in, a word of warning: Version control can get complicated fast! It’s easy to get overwhelmed by reading about all of Git’s whiz-bang features. Don’t worry, though. We’re going to take it slow and use only the essential features. Later, after you’ve learned the ropes, you can start tinkering with Git’s advanced features.
💡 Tip: There are so many great resources for learning Git. Some of my favorites are Ry’s Git Tutorial and Pro Git, a free book that you can read online.
Installing Git
Git is a command line application that comes preinstalled on most operating systems. If you don’t know whether or not Git is already installed on your computer, type git version in your terminal application—you should see the version of Git installed on your computer in the output.
If Git isn’t already installed on your computer, follow the instructions on https://git-scm.com/ to install it. When prompted, make Visual Studio Code the default editor during installation.
💡 Tip: If you use macOS and you’ve never used Git before, you’ll be prompted to download and install a collection of Apple developer tools for the command line. Install those tools before proceeding.
Creating a GitHub Account
GitHub is a code-sharing platform used for hosting Git repositories. If you don’t already have a GitHub account, sign up for an account on the GitHub website now. It’s free!
💡 Tip: If you don’t want to use GitHub, there are comparable services. GitLab and BitBucket also allow you to host Git repositories. And if you’re someone who likes to self-host everything, Gitea is a fantastic project.
Setting Up the GitHub Desktop Application
There are two ways of using Git on your computer. You can use a terminal application to enter commands and interact with the Git command line application. Or, if you’re new to Git, you can use the GitHub Desktop application, a graphical user interface that lets you skip the command line interface entirely.
GitHub Desktop is what’s referred to in computer science as an abstraction. The application hides stuff from you to provide what is, in GitHub’s opinion, a more streamlined approach to using Git.
Indeed, using GitHub Desktop makes it easier to get started with Git. But for people who aren’t already familiar with Git, it can be confusing since you can’t tell what GitHub Desktop is doing behind the scenes.
The tradeoff is worth it, in my opinion. That’s why I recommend using GitHub Desktop to get started. After you have the hang of Git, you can always switch to using Git on the command line.
Installing GitHub Desktop
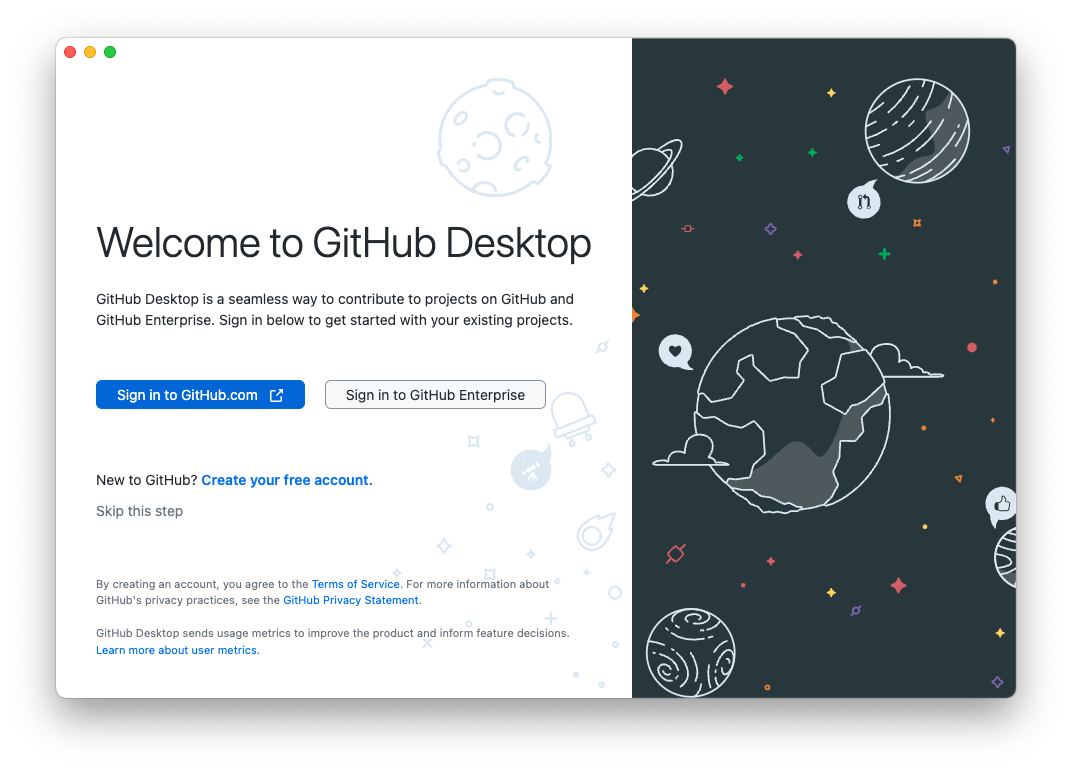
Download the GitHub Desktop application from https://desktop.github.com/ and open it. Click the Sign in to GitHub.com button, as shown below.
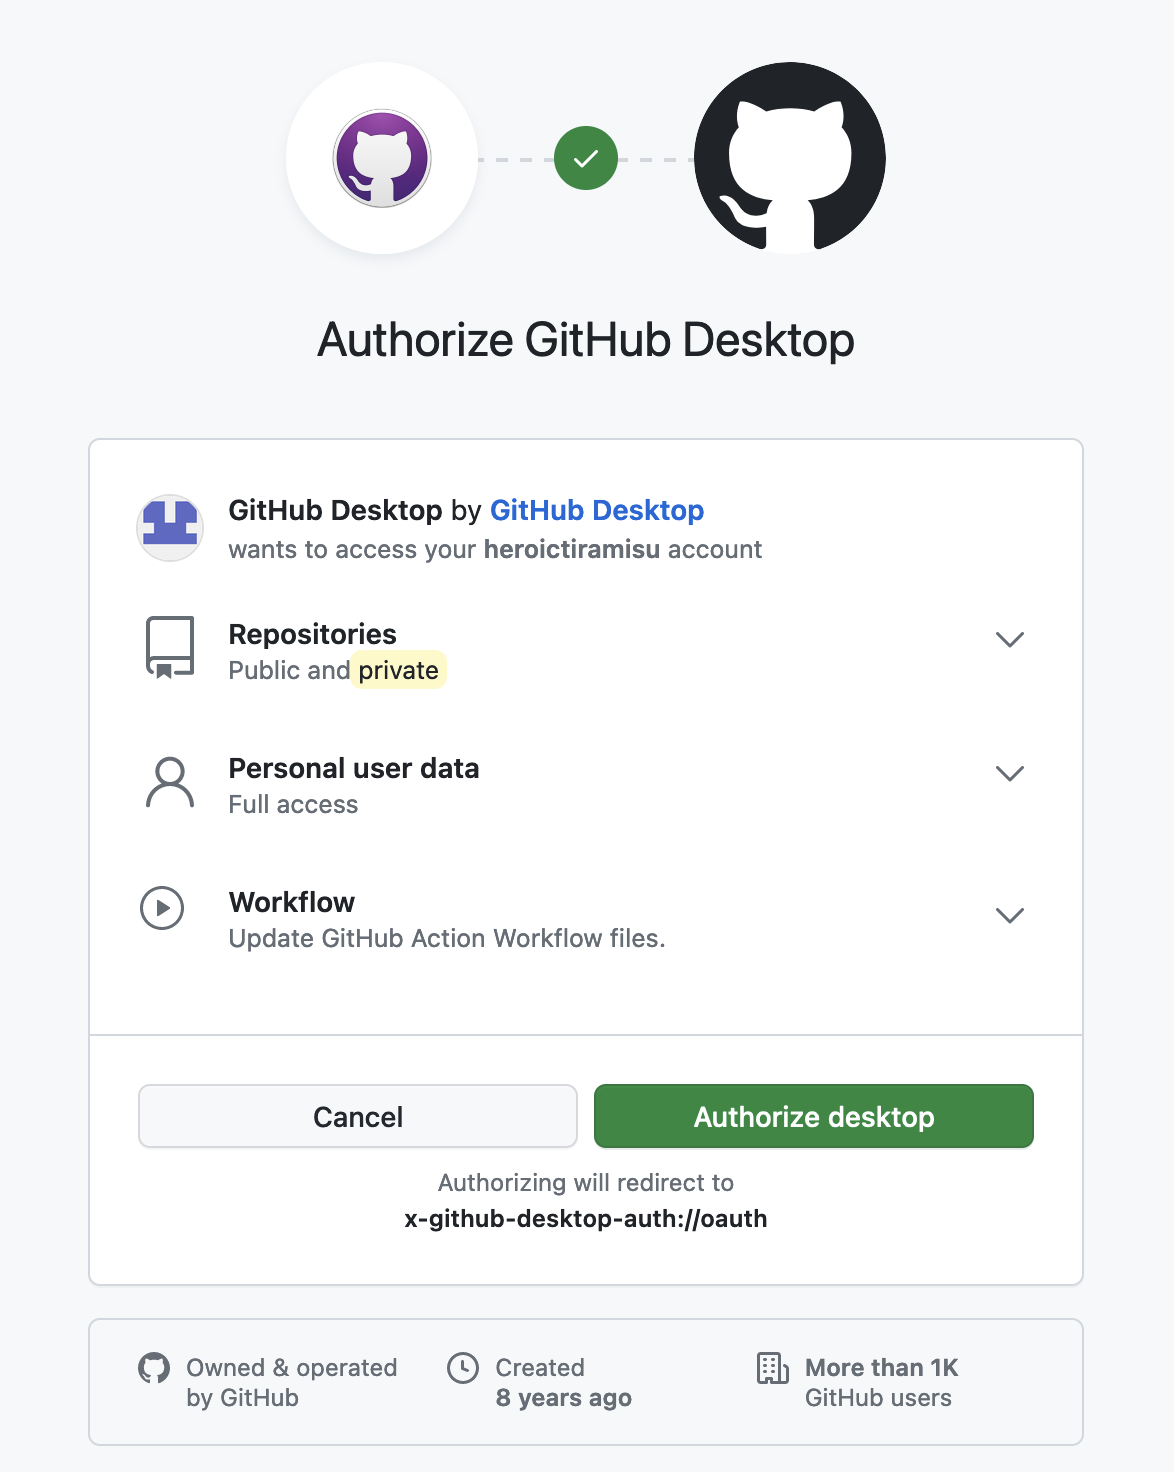
The GitHub account authentication webpage will open in your web browser, as shown below. Click the Authorize desktop button.
The GitHub Desktop application will ask you to finish configuring your account. Click the Finish button. The window shown below appears.
Telling Git What Files To Ignore
Before we create the Git repository, we’ll create a .gitignore file that tells Git what files and directories to not store in the repository. This is important because there are always some files and directories you don’t want in your repository. Many of these are invisible and were created by your operating system.
Below, I’ve listed some of the files I regularly ignore when creating a Hugo site. Most of these are temporary files used by Hugo or macOS that aren’t related to the actual website. Notice that we’re also telling Git to ignore the public/ directory. As we learned earlier, that directory contains the fully-built website and is ephemeral. The contents of that directory will change from build to build and should not be stored in our repository.
Using VS Code, copy and paste the following content into a new file called .gitignore and save it in the heroic-tiramisu directory.
public/
.DS_Store
node_modules
.env
resources/_gen
.hugo_build.lock
💡 Tip: A period at the beginning of a file or directory name has a special meaning. Operating systems hide files and directories starting with a period from users by default, so you won’t see them unless you enable special settings. You can use the
ls -acommand in a terminal application (or simplylsin Windows PowerShell) to show all of the files and folders in a directory, even those starting with a period.
Creating the Repository on Your Computer
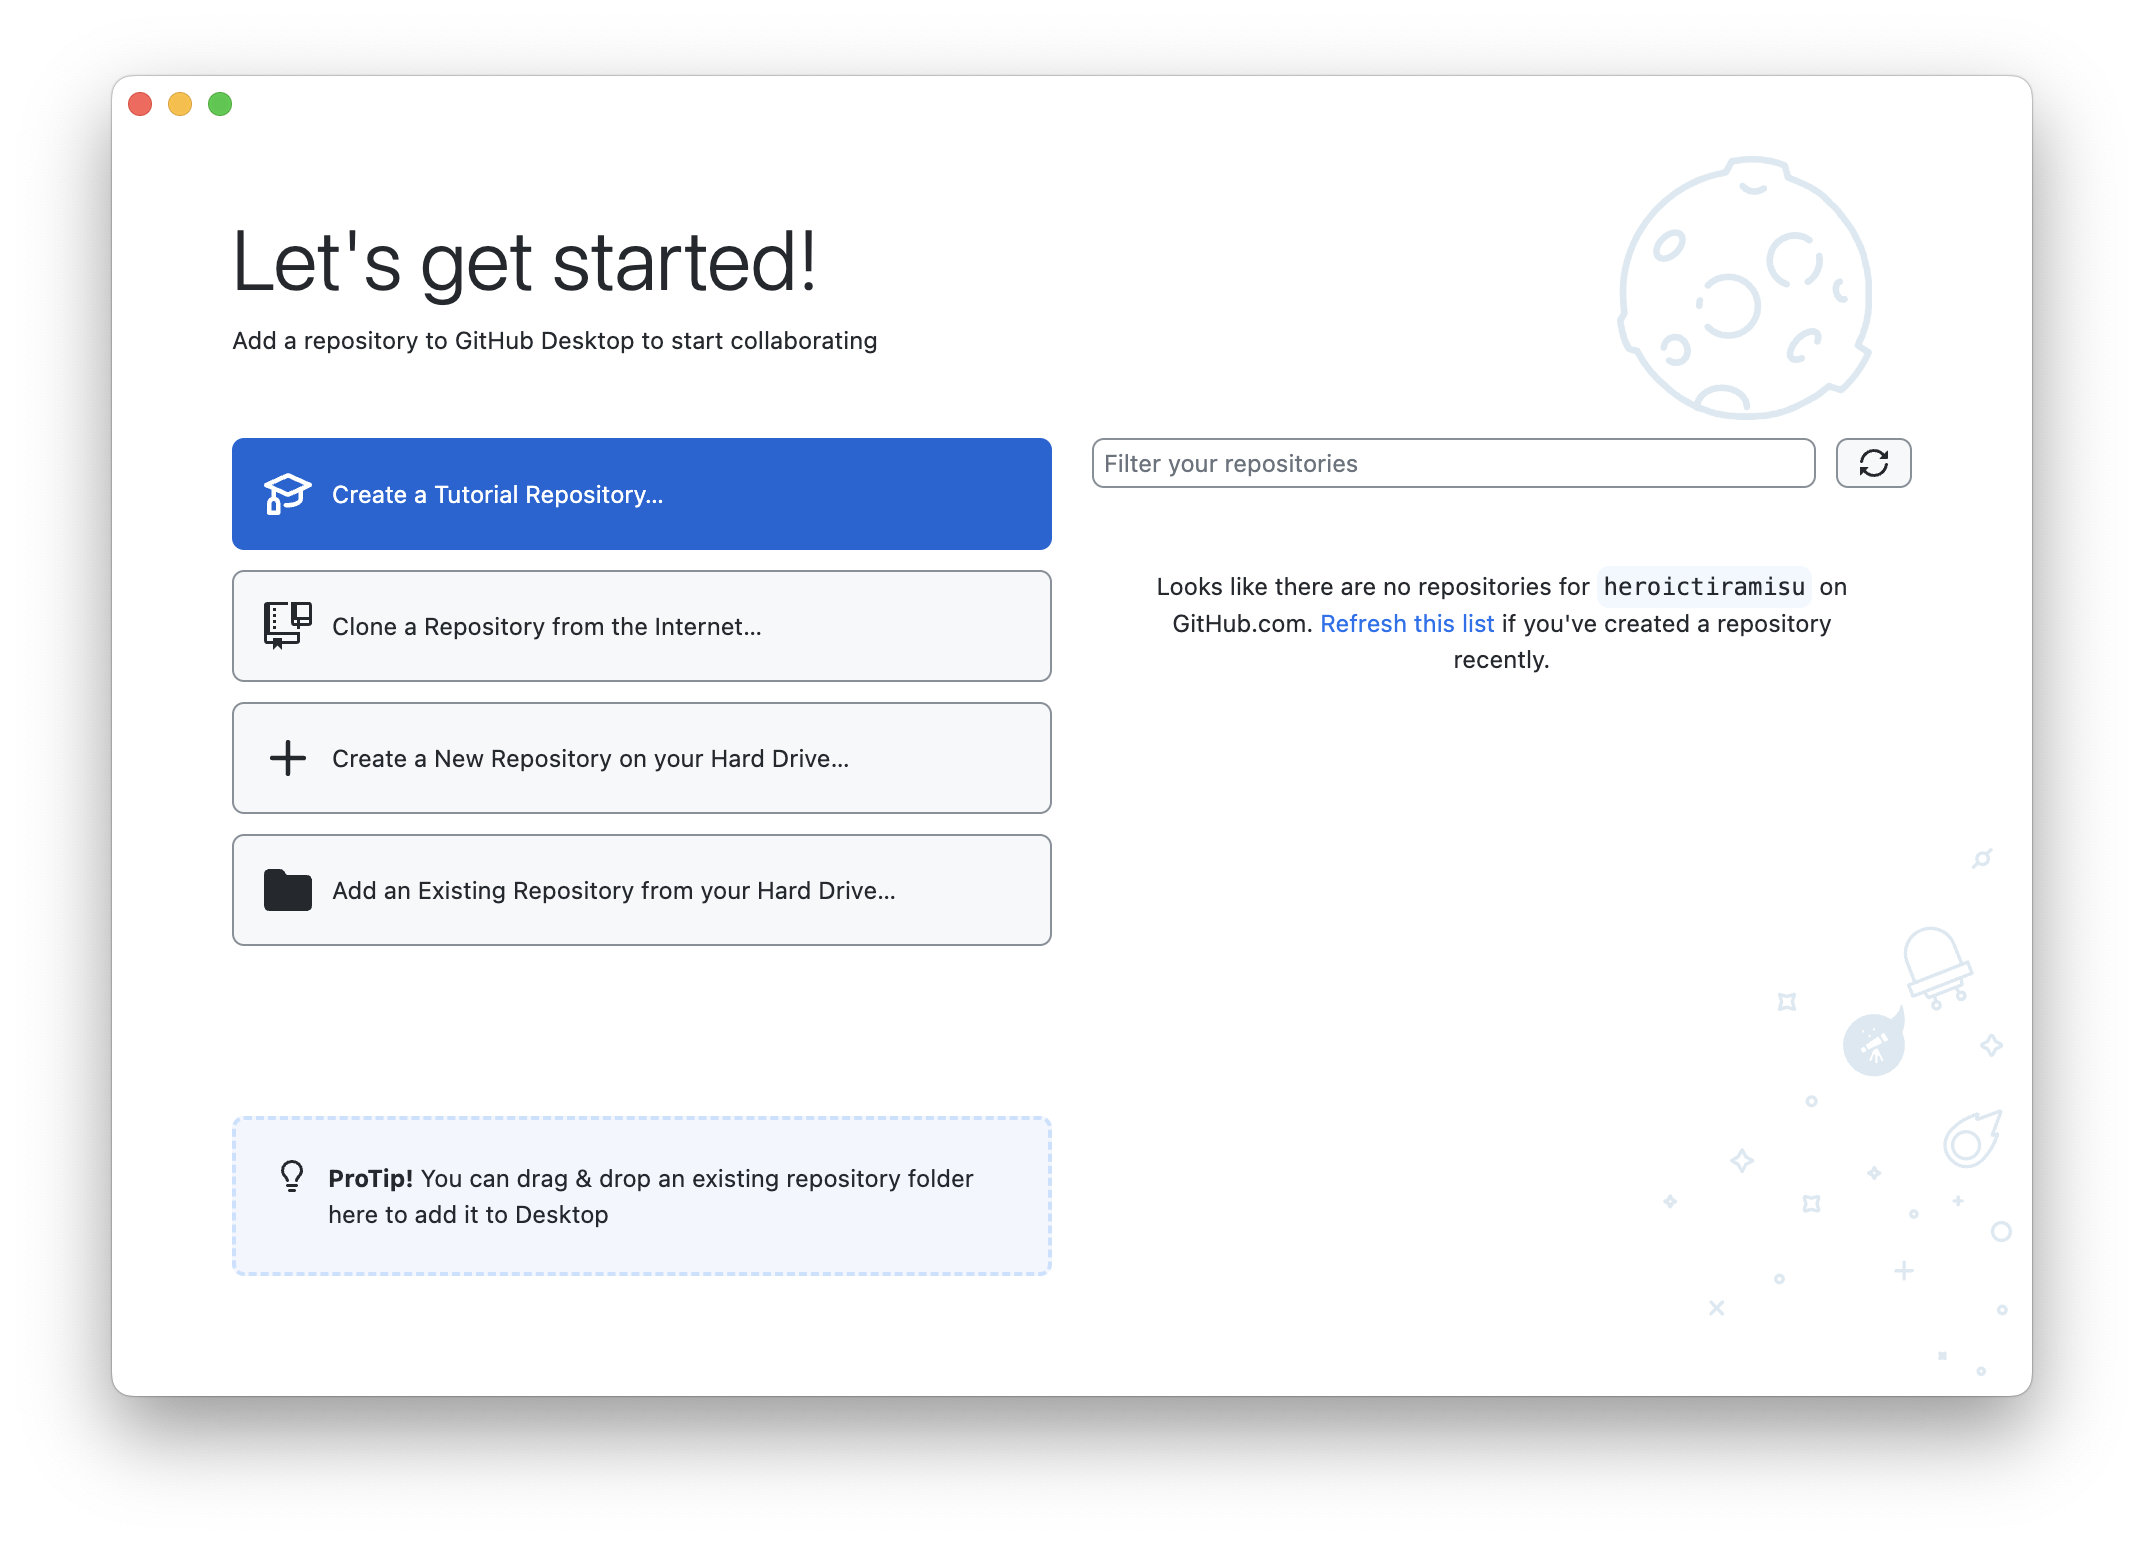
Now we can create the repository on our computer. In the GitHub Desktop application, click Create a New Repository on your local drive. The window shown below appears.
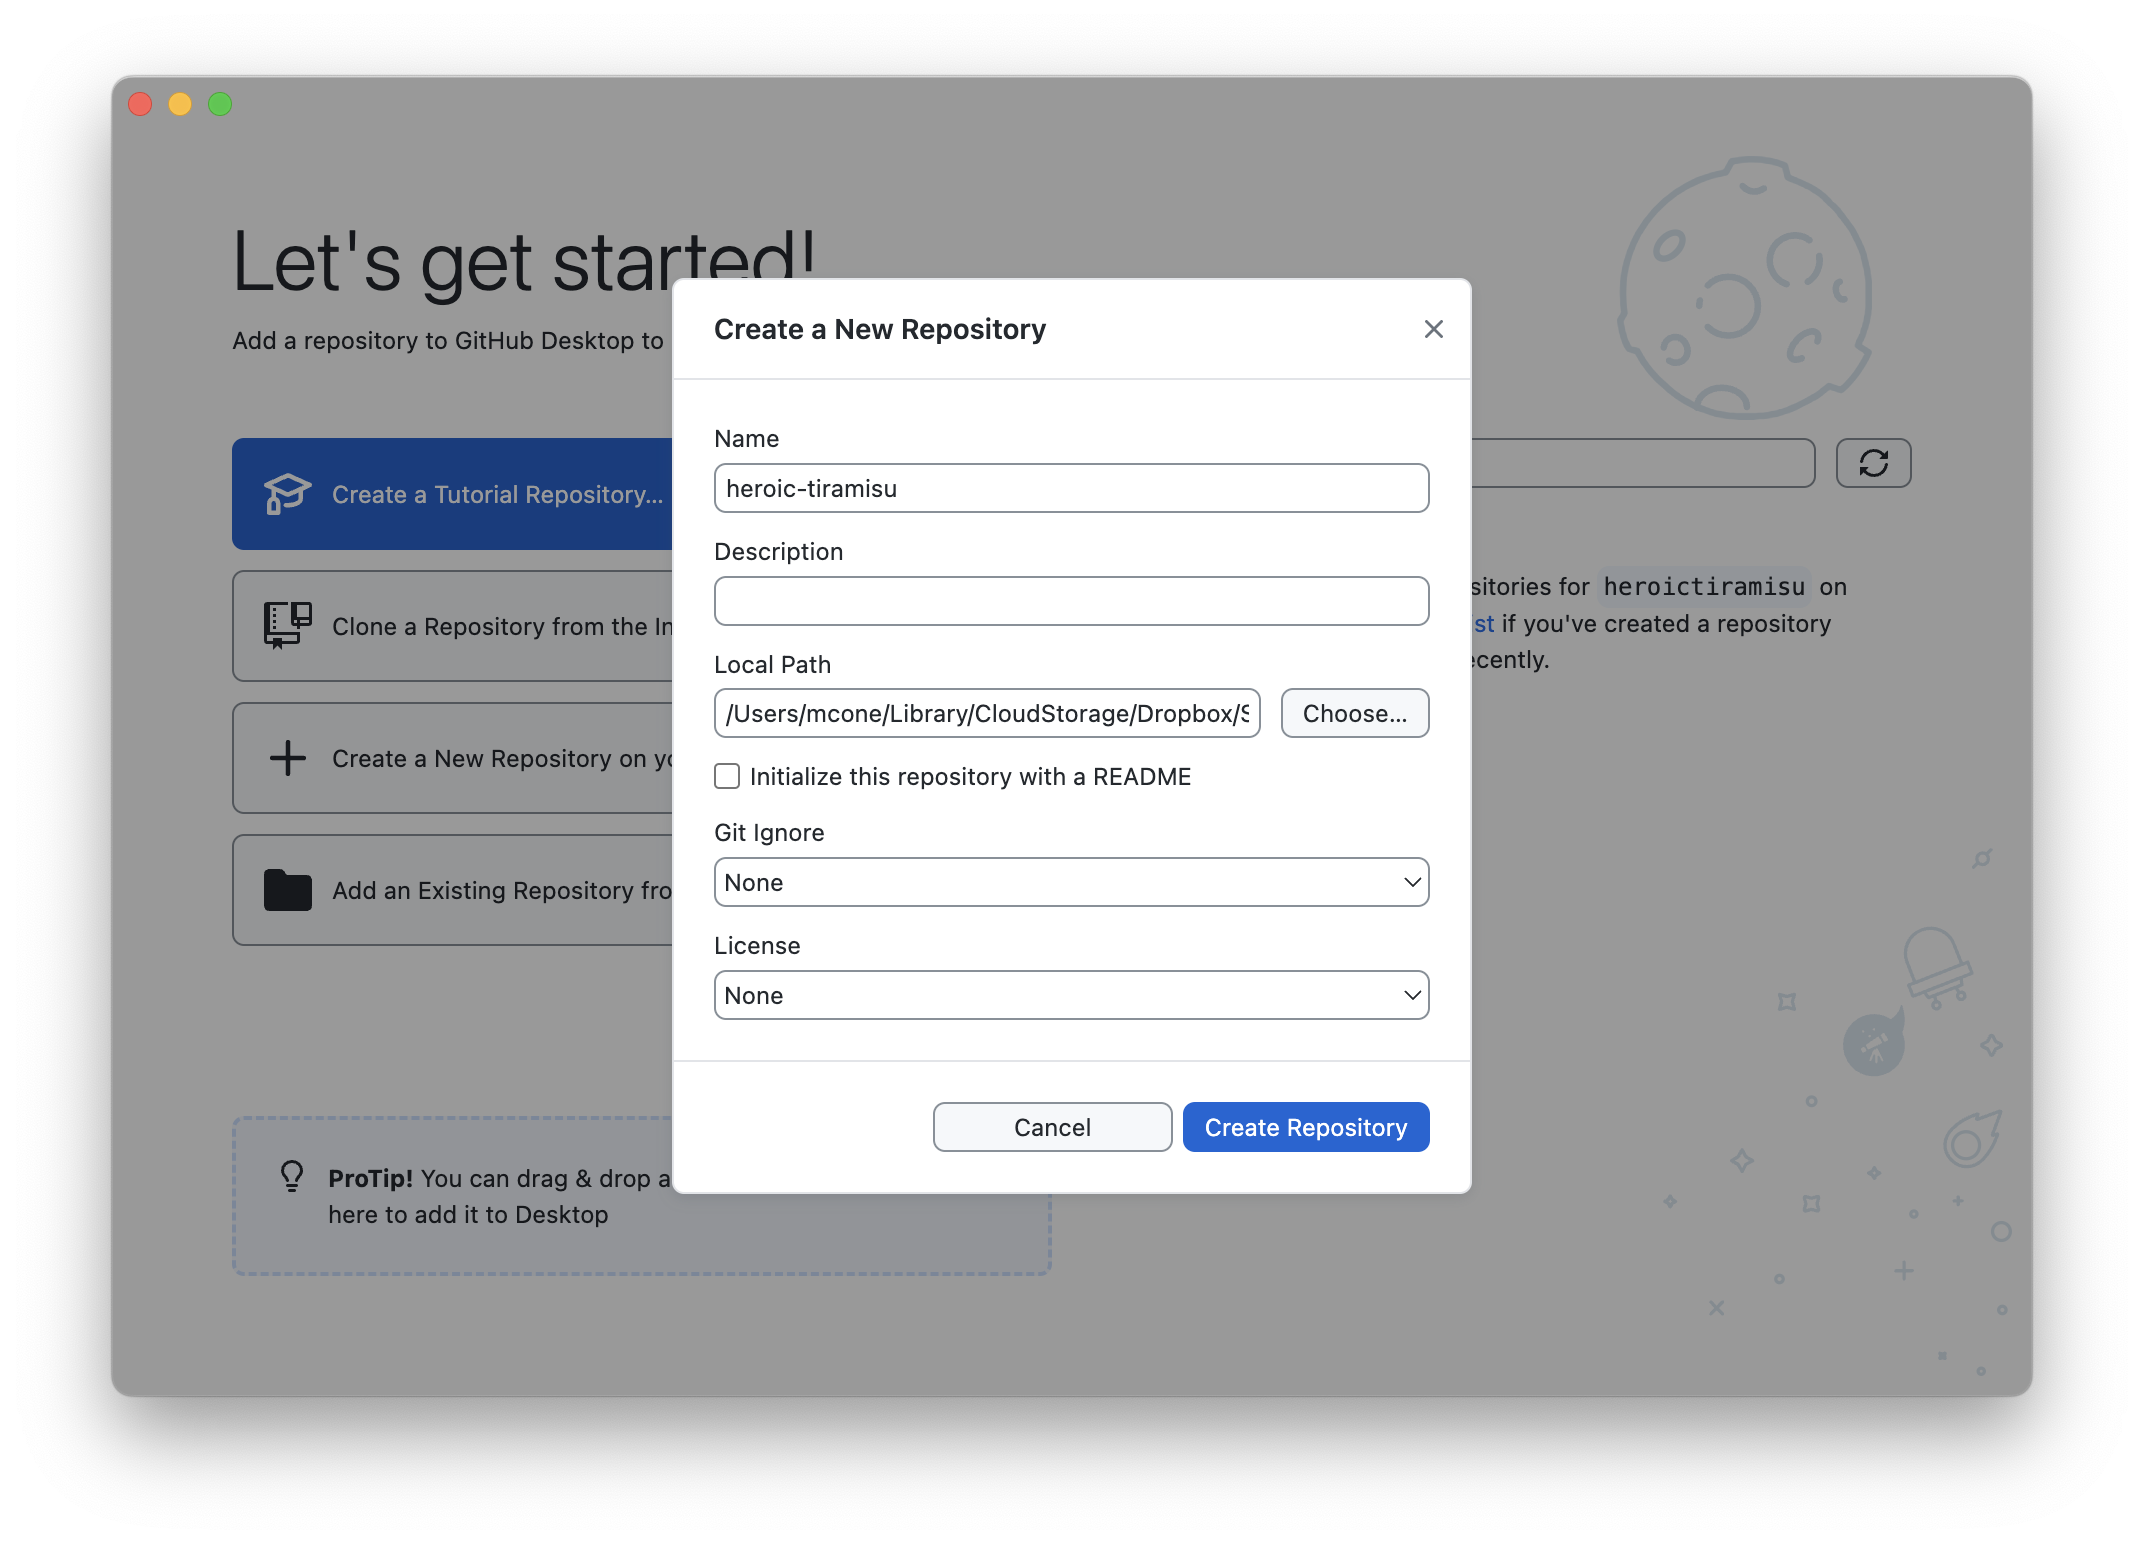
In the Name field, enter heroic-tiramisu or whatever you’ve chosen for your site’s directory. This must match the name of your website’s directory on your computer. In the Local Path field, choose the directory that holds the heroic-tiramisu directory. For example, if the heroic-tiramisu directory is in a directory called cake, choose the cake directory for the Local Path field. Leave all of the other fields blank and set to their defaults.
Click Create Repository to create the repository on your computer. GitHub Desktop creates the repository on your computer, and the window shown below appears.
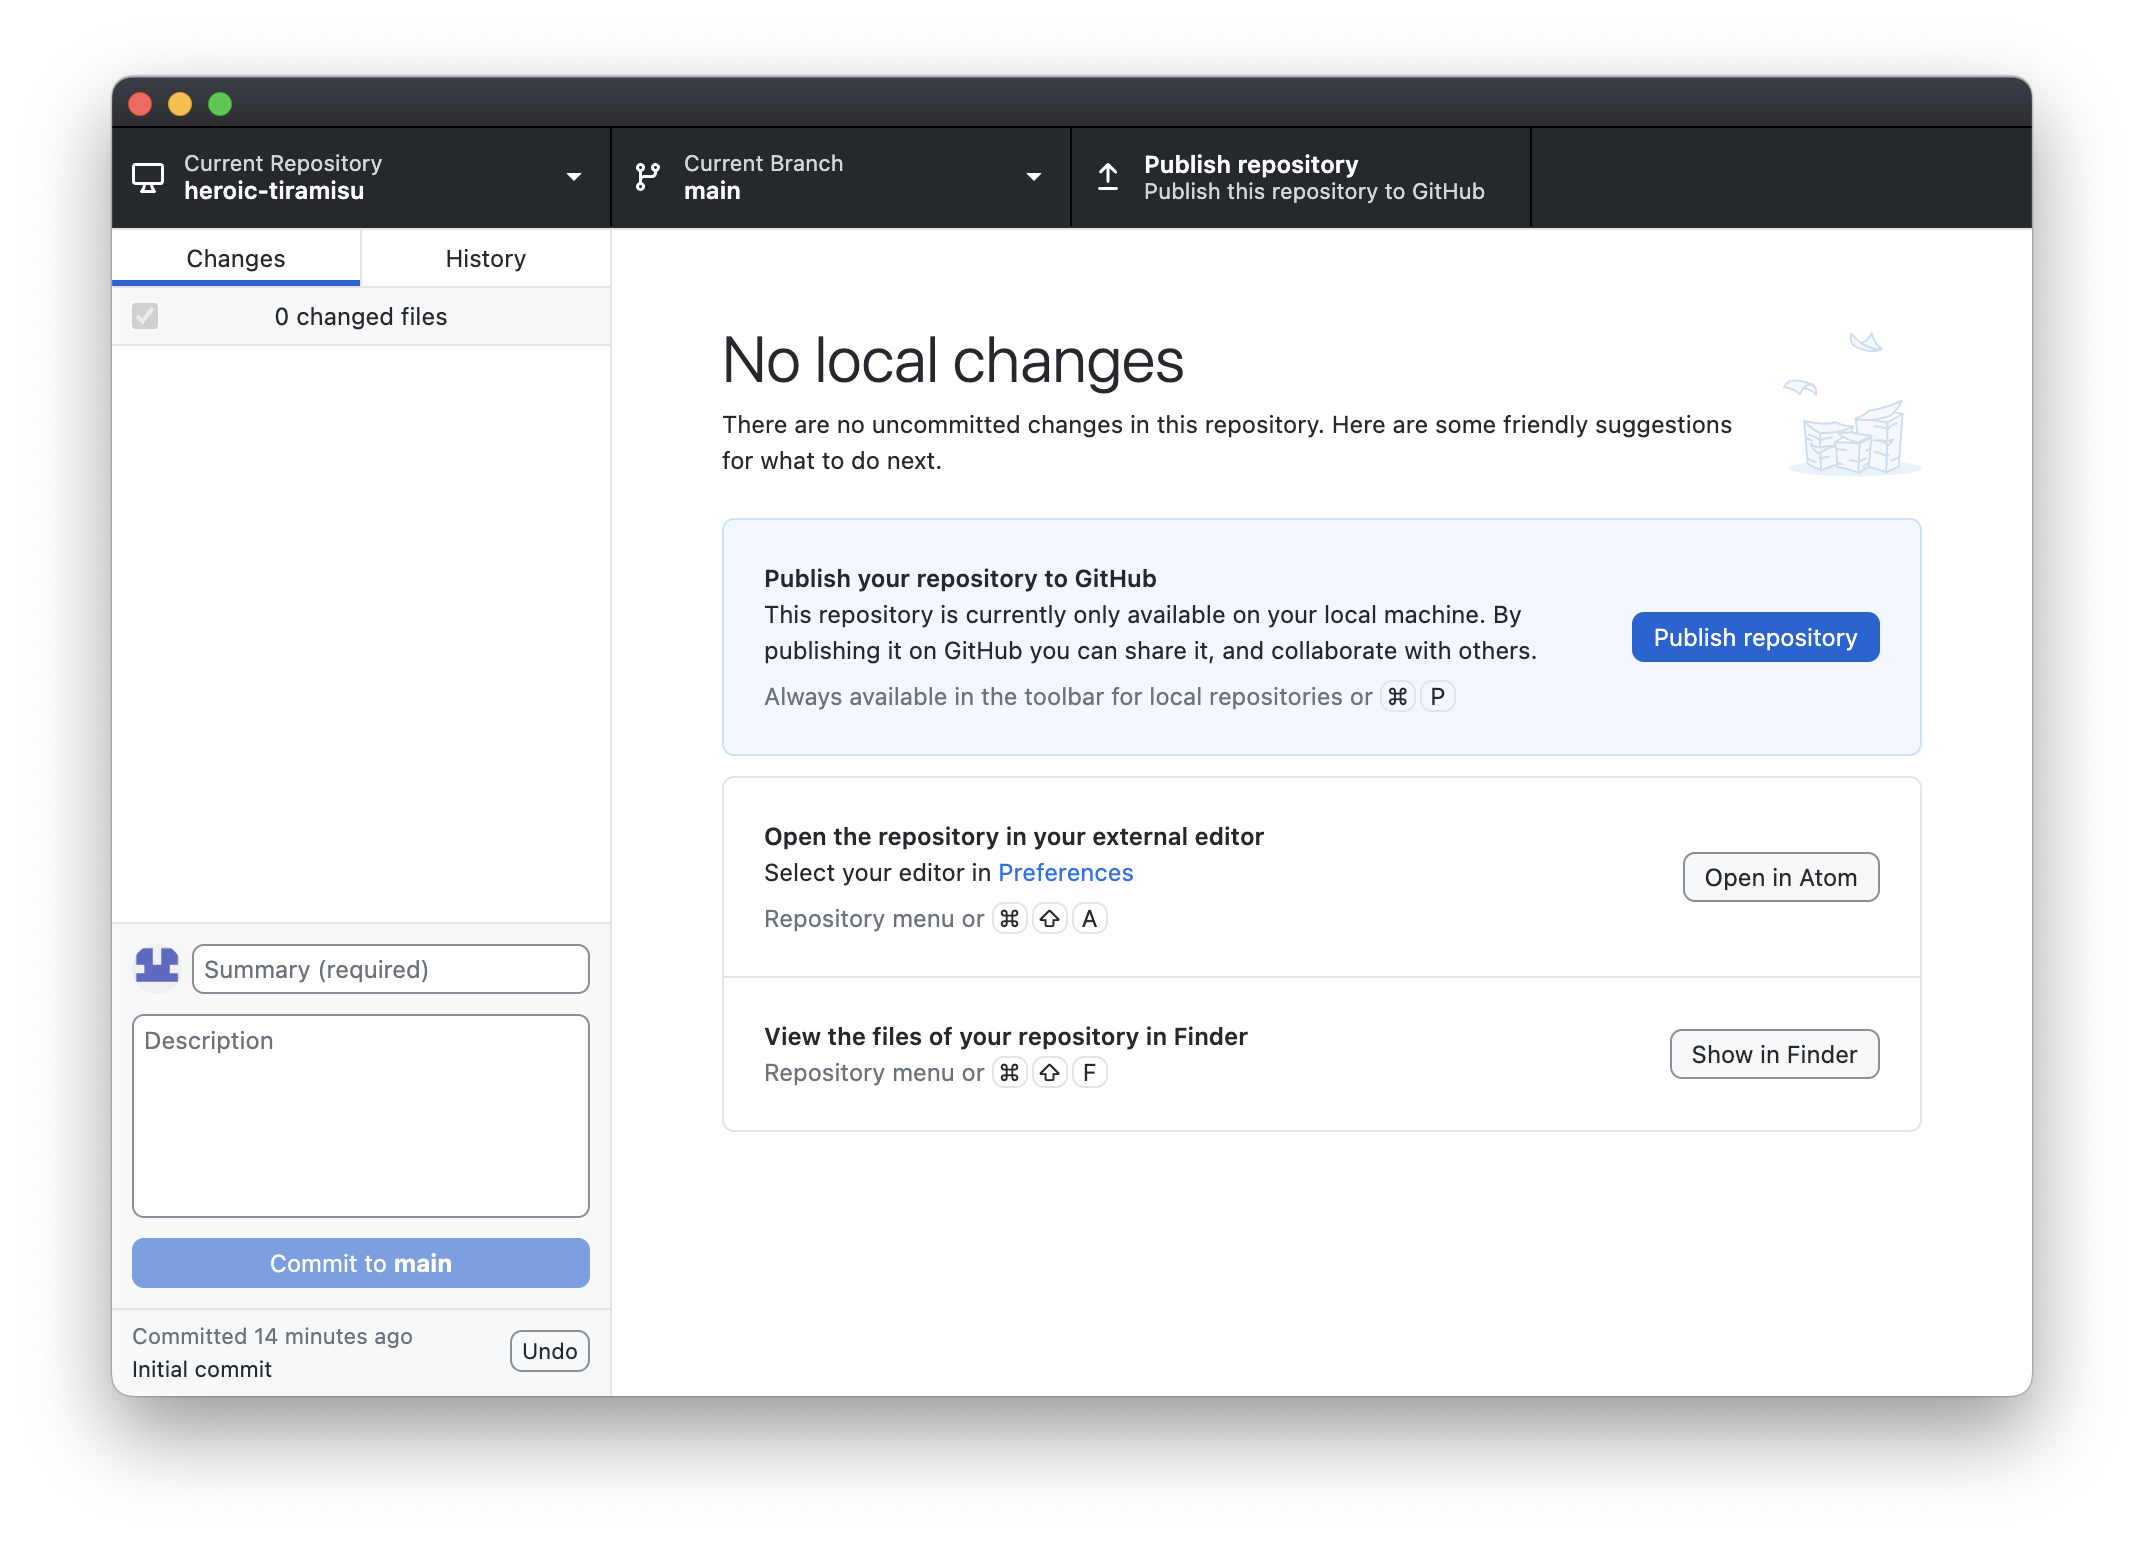
Remember how I said earlier that GitHub Desktop hides a lot of stuff? Well, it just did a bunch of stuff for us behind the scenes. To be specific, it:
Created a new Git repository in the
heroic-tiramisudirectory.Created a branch named
main. A branch is a version or clone of a repository that you can modify. In the future, you or other contributors can create feature branches to make changes, but themainbranch will always be the source of truth for our Git repository.Added all of the files and directories in the
heroic-tiramisudirectory (except for those specified in our.gitignorefile) to the repository so that they’ll be tracked by Git in the future.Committed the changes to the repository. A commit is a snapshot in time that saves all of our files exactly the way they are. In the future, if we make changes to our files that we want to discard, we can roll back to this first commit to restore all of our files to their previous state.
We can review the changes in the first commit by selecting the History in GitHub Desktop. You’ll see a list of all the files in the heroic-tiramisu directory, as shown below. Since this was the first commit, all of the files were added.
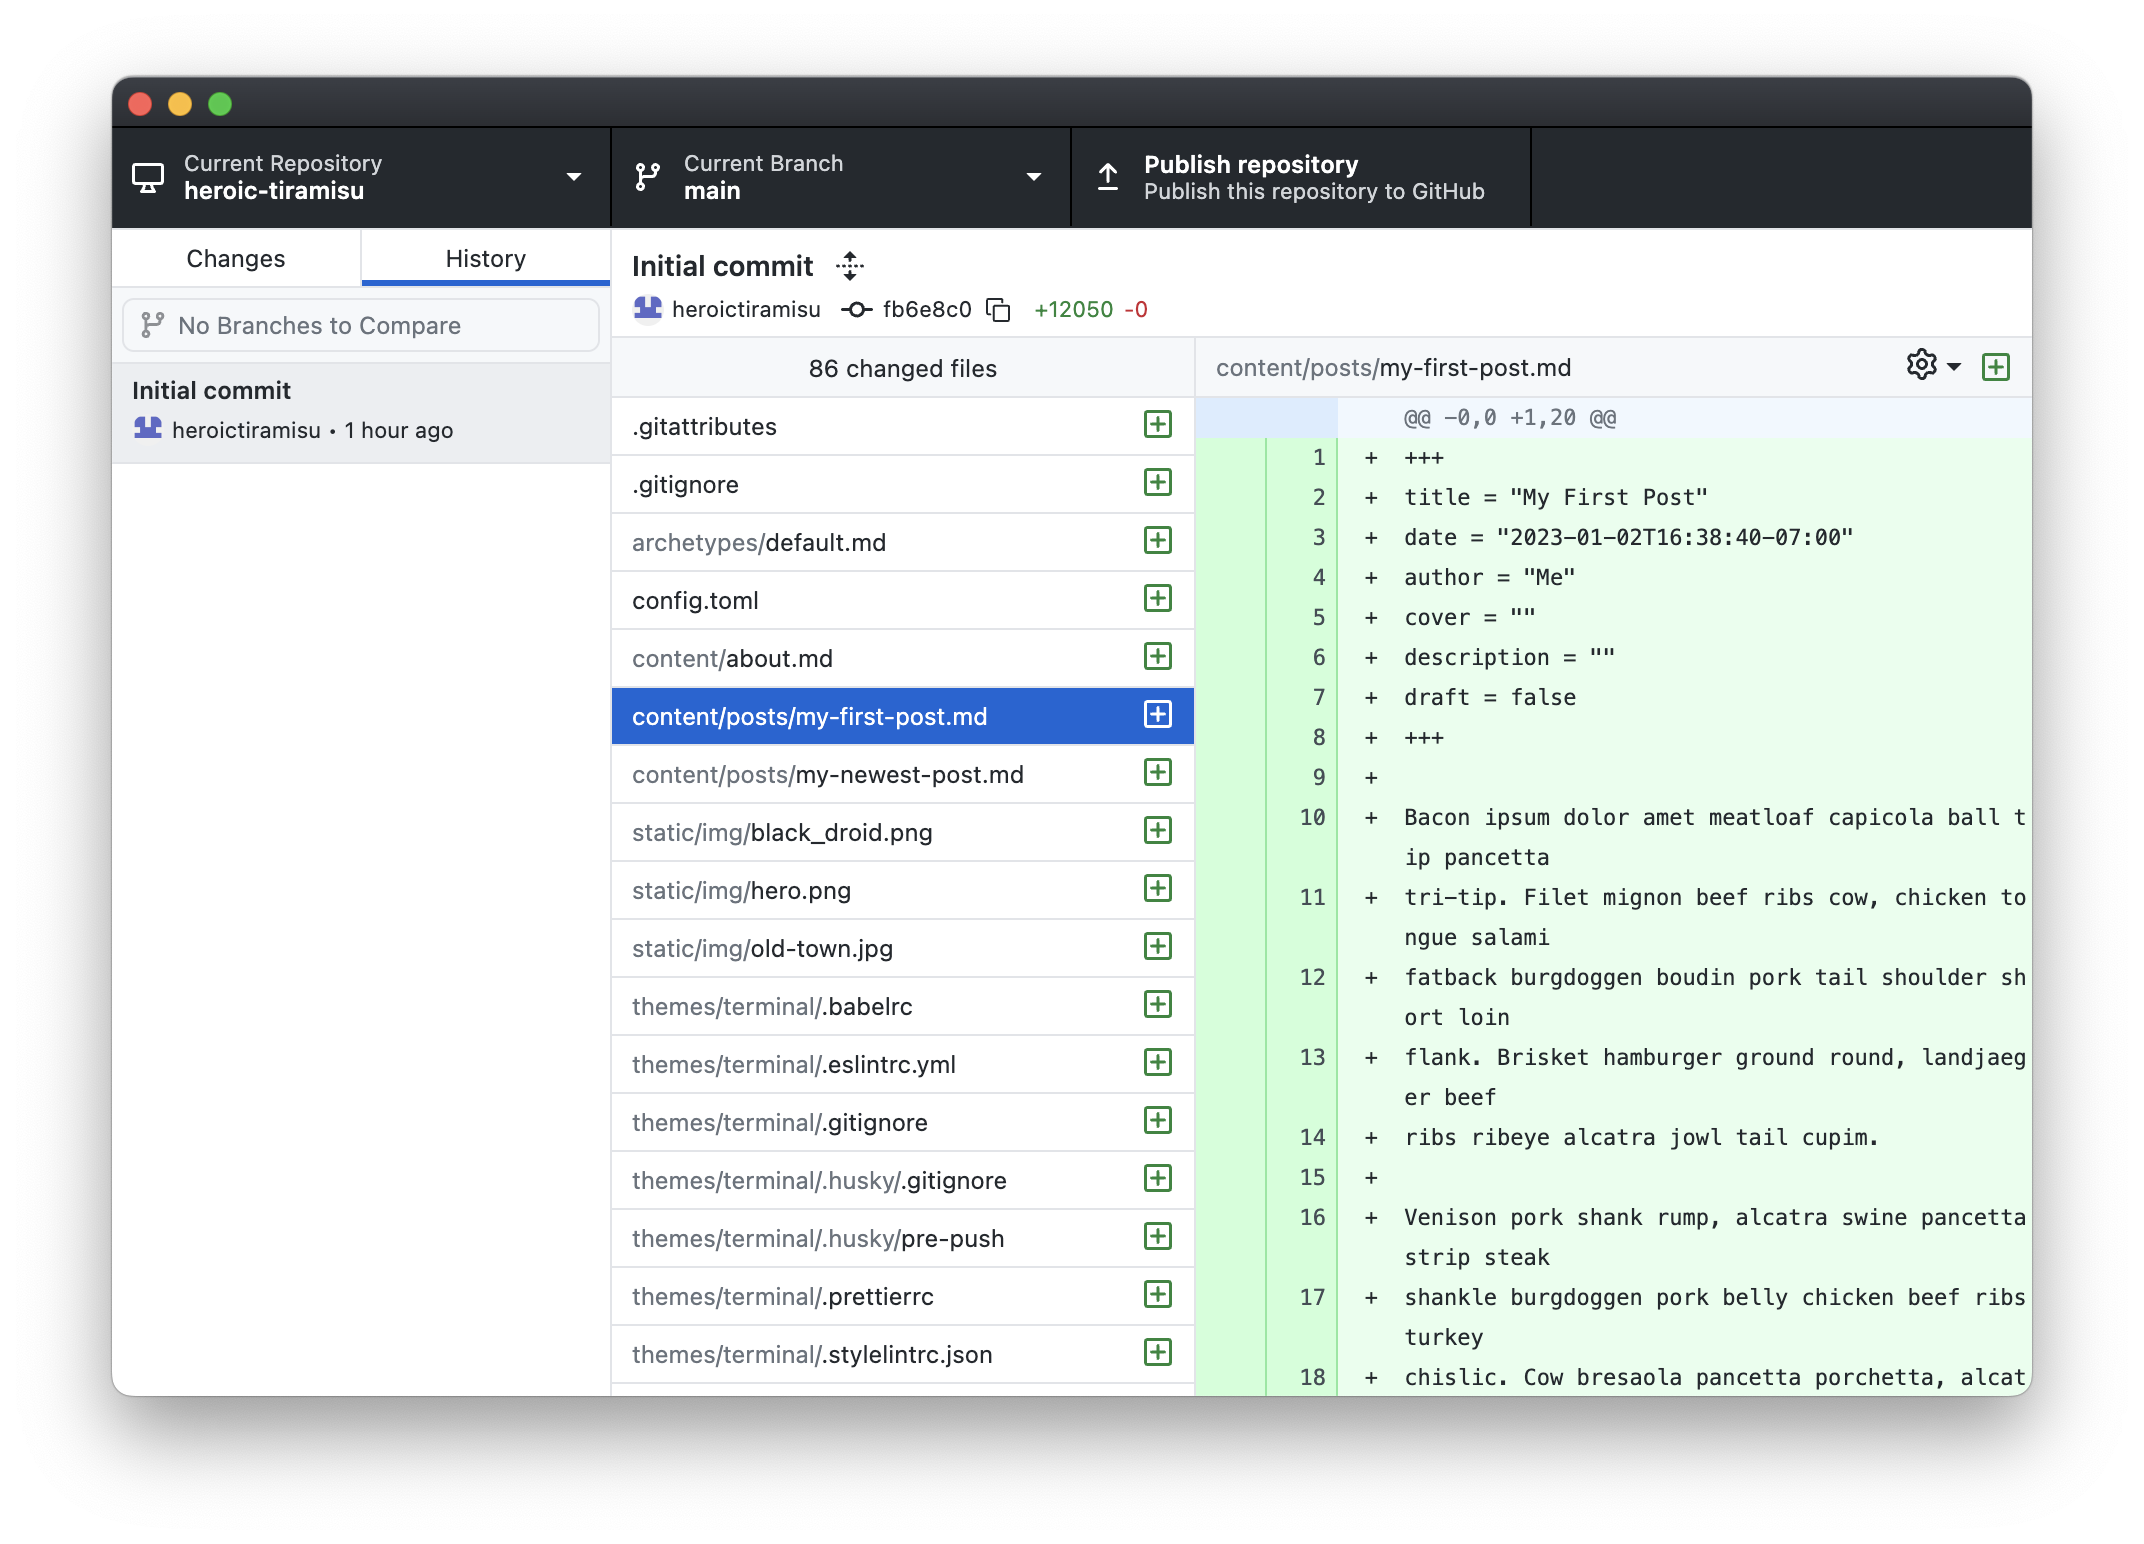
In the future, you can use this tab to see all of the changes you made to your website.
Publishing the Repository on GitHub
The repository exists on our computer. Now it’s time to publish the repository on the GitHub website. In GitHub Desktop, click the Publish Repository button. The window shown below appears.
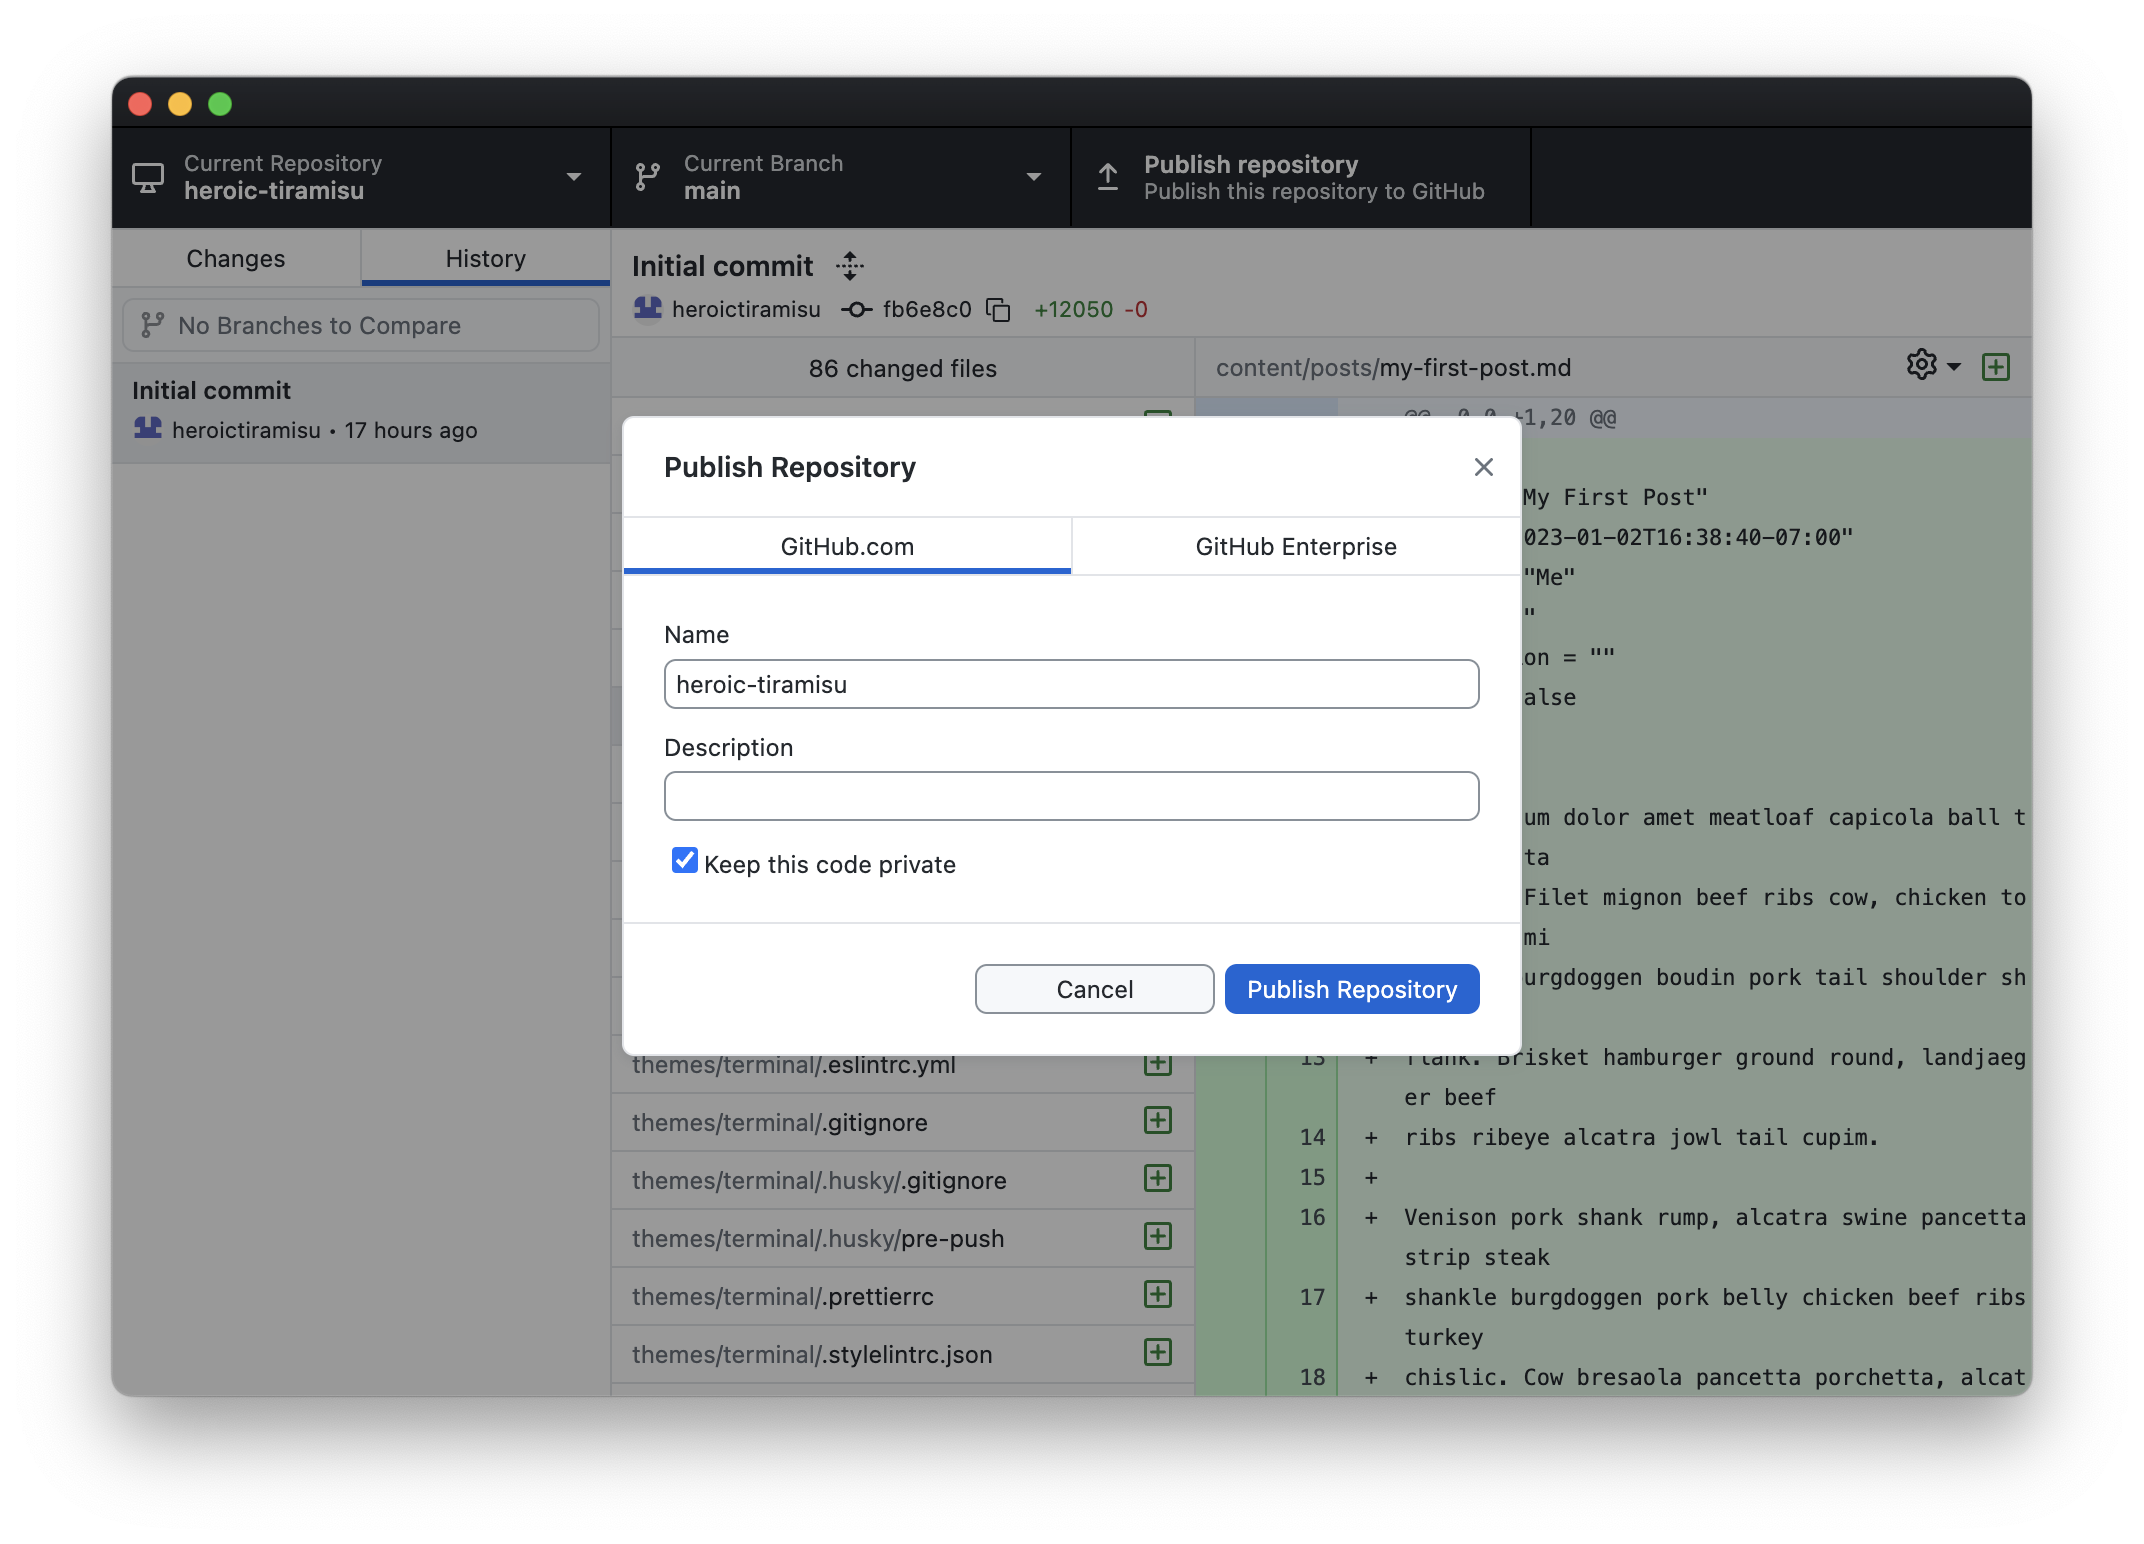
We’ll need to enter some information about our remote repository. The most important settings are the repository name and whether or not the repository will be public or private. If you make the repository public, anyone on the internet will be able to view the code in your repository.
You can use anything for the remote repository name, but to avoid confusion, I usually try to use the name of the directory. I’ll do that here too by naming the repository heroic-tiramisu. When you’re finished, click the Publish Repository button. GitHub Desktop will publish your repository on GitHub.
You can view the webpage for your repository by selecting View on GitHub from the Repository menu. The GitHub URL for your repository follows a standard format: https://github.com/username/repository-name. For example, the URL for the repository I created is https://github.com/heroictiramisu/heroic-tiramisu. These URLs are permanent, so if you made your repository public, you can share the URL with friends and they’ll be able to view your repository on GitHub.
At this point, your repository’s webpage on GitHub should look similar to mine, as shown below.
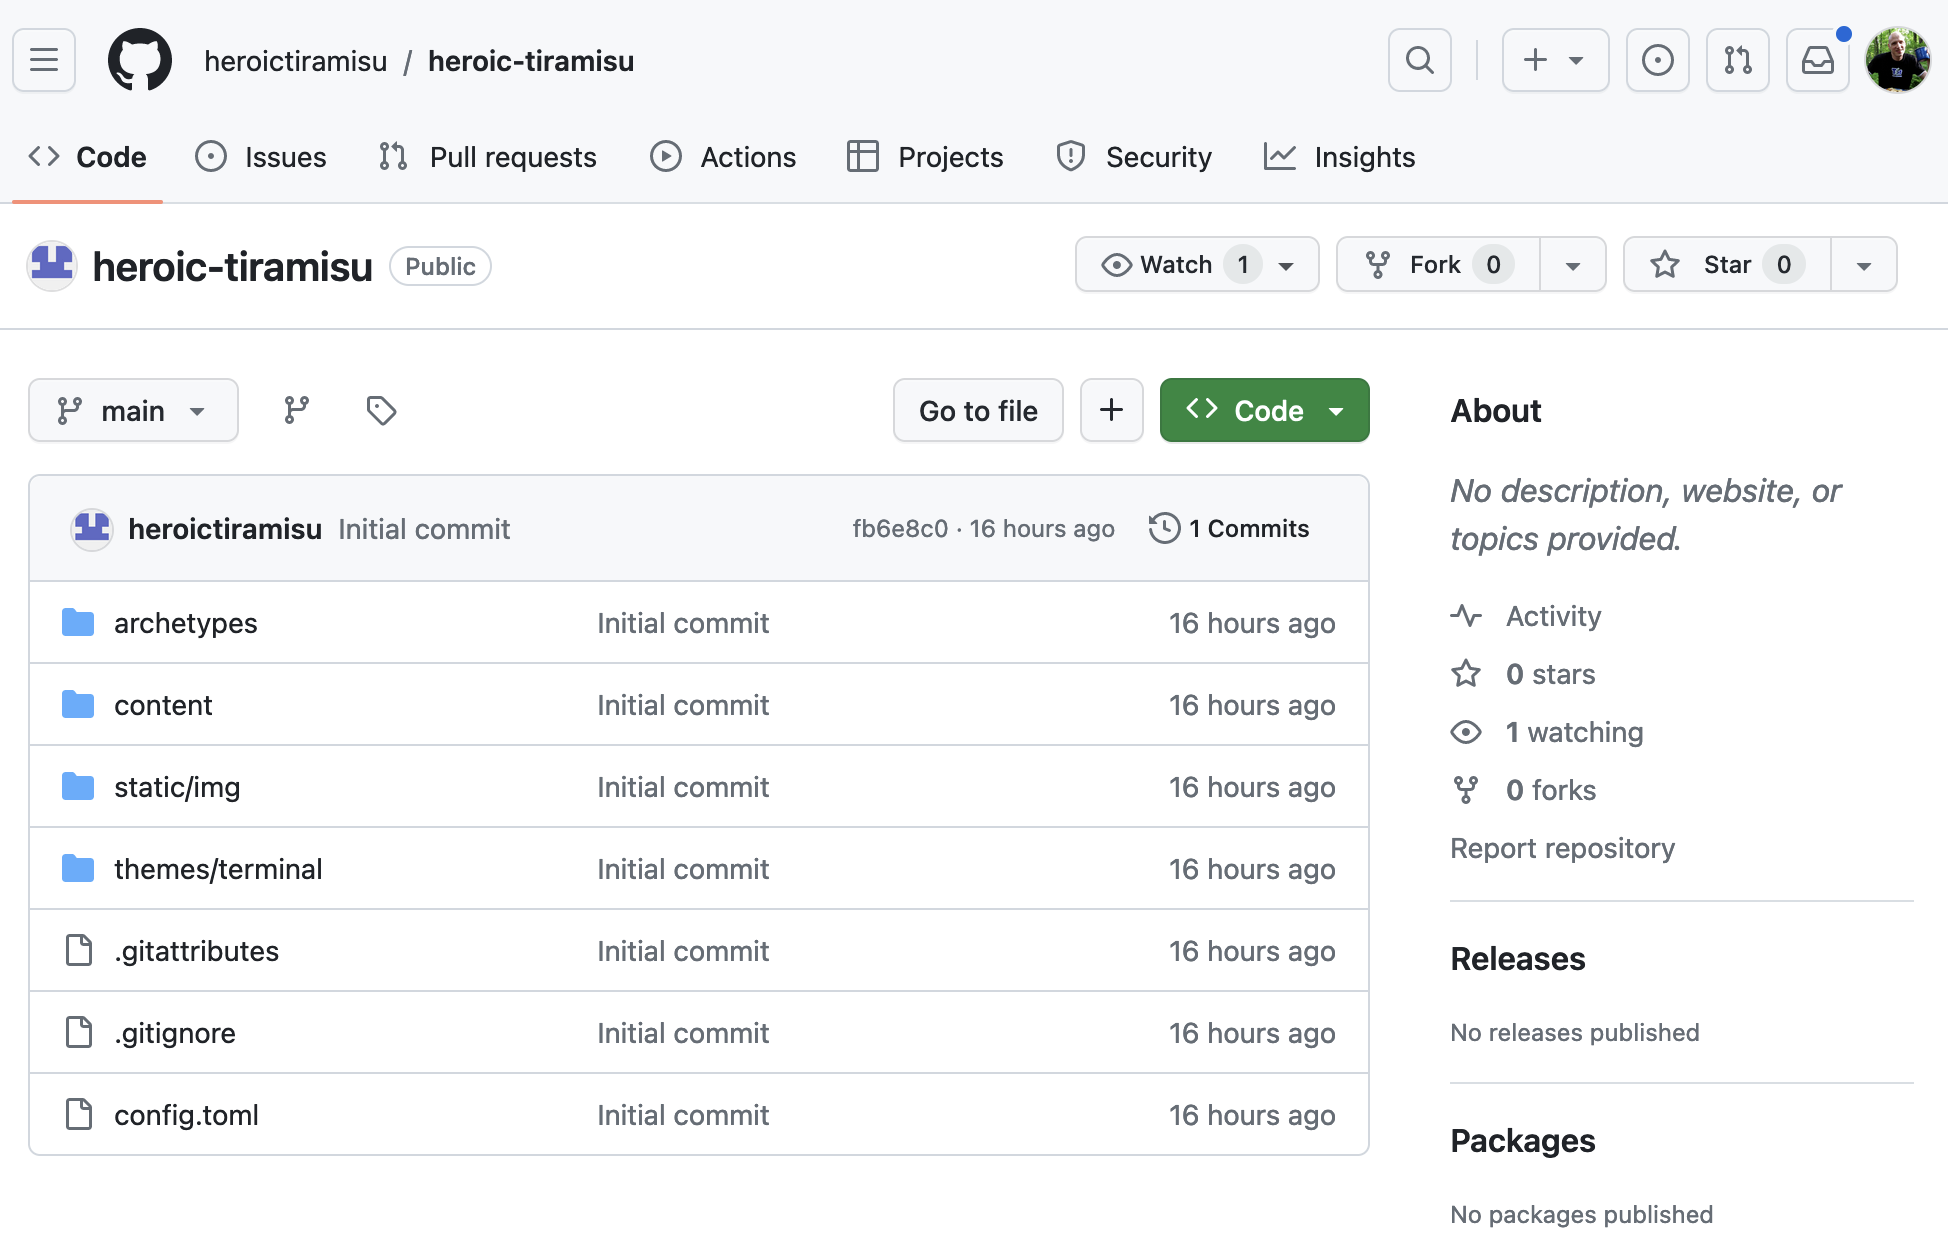
If you’ve never used GitHub, check it out. Go ahead and try clicking on a file or two. You’ll see all of the source code for your website. Pretty incredible, right? You just uploaded all of your website’s source code to the internet!
Adding a New File
We’ve published our repository on GitHub. Now we’re going to create a new file and learn some things about Git in the process.
First, let’s talk about how we do work. We’ll need to adjust our workflow slightly to accommodate version control. Consider how we add or modify files in our website’s directory. Before we used Git, we just saved the changes to our files and uploaded them to Netlify. Now that we’re using Git, we’ll need to save the changes to the files, commit the changes to our Git repository, and then upload the files to Netlify.
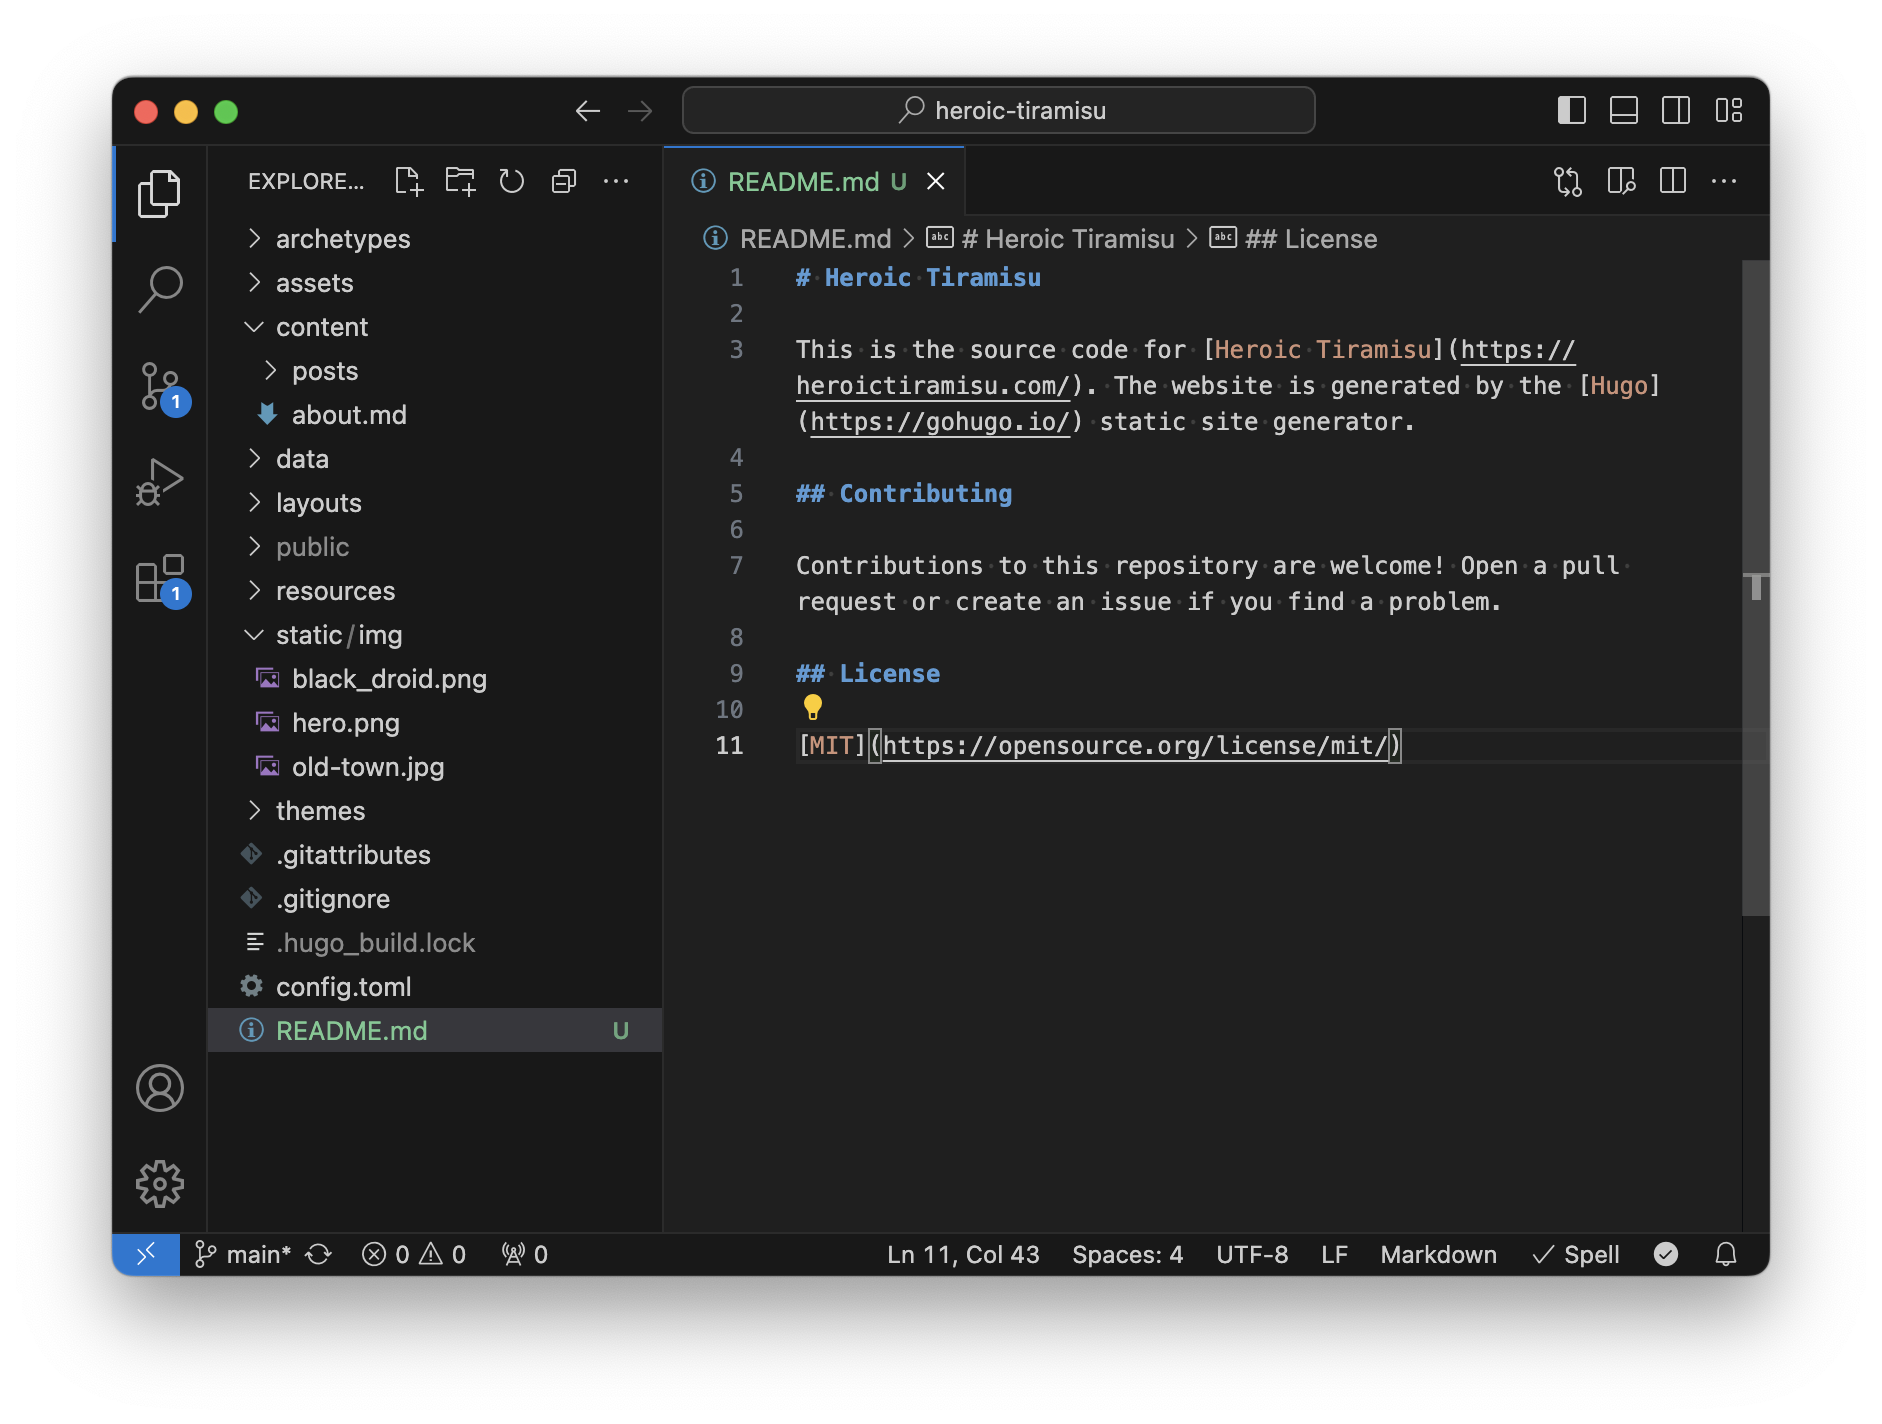
In VS Code, create a new file and save it as README.md in the heroic-tiramisu directory. This file won’t be displayed on our website. Instead, it will be displayed on the webpage for our repository on GitHub. README files contain internal documentation about the source code in the repository. An author of a repository can use a README to share information about the files.
Here’s the Markdown-formatted content of the README.md file I created for my heroic-tiramisu directory:
# Heroic Tiramisu

This is the source code for [Heroic Tiramisu](https://heroictiramisu.com/). The website is generated by the [Hugo](https://gohugo.io/) static site generator.

## Contributing

Contributions to this repository are welcome! Open a pull request or create an issue if you find a problem.

## License

[MIT](https://opensource.org/license/mit)
You can use this content for your own README file, or you can create your own content. Save the changes to your README.md file when you’re done.
I’d like to draw your attention to something in VS Code. The color of the new file is green, as shown below. That’s because VS Code knows we’re working in a Git repository and that README.md is a new file that we haven’t yet committed to our repository. After we add the file and commit it to our repository, the color of the file will be white, just like all of the other files.
It’s time to add and commit this file to our repository. In GitHub Desktop, click the Changes tab and you’ll see the new README.md file. In the lower-left corner of the window, enter a brief commit message, like Create README.md, as shown below. The commit message is an internal note that should briefly explain what you changed in the commit. If you need to add more information, you can enter it in the description field.
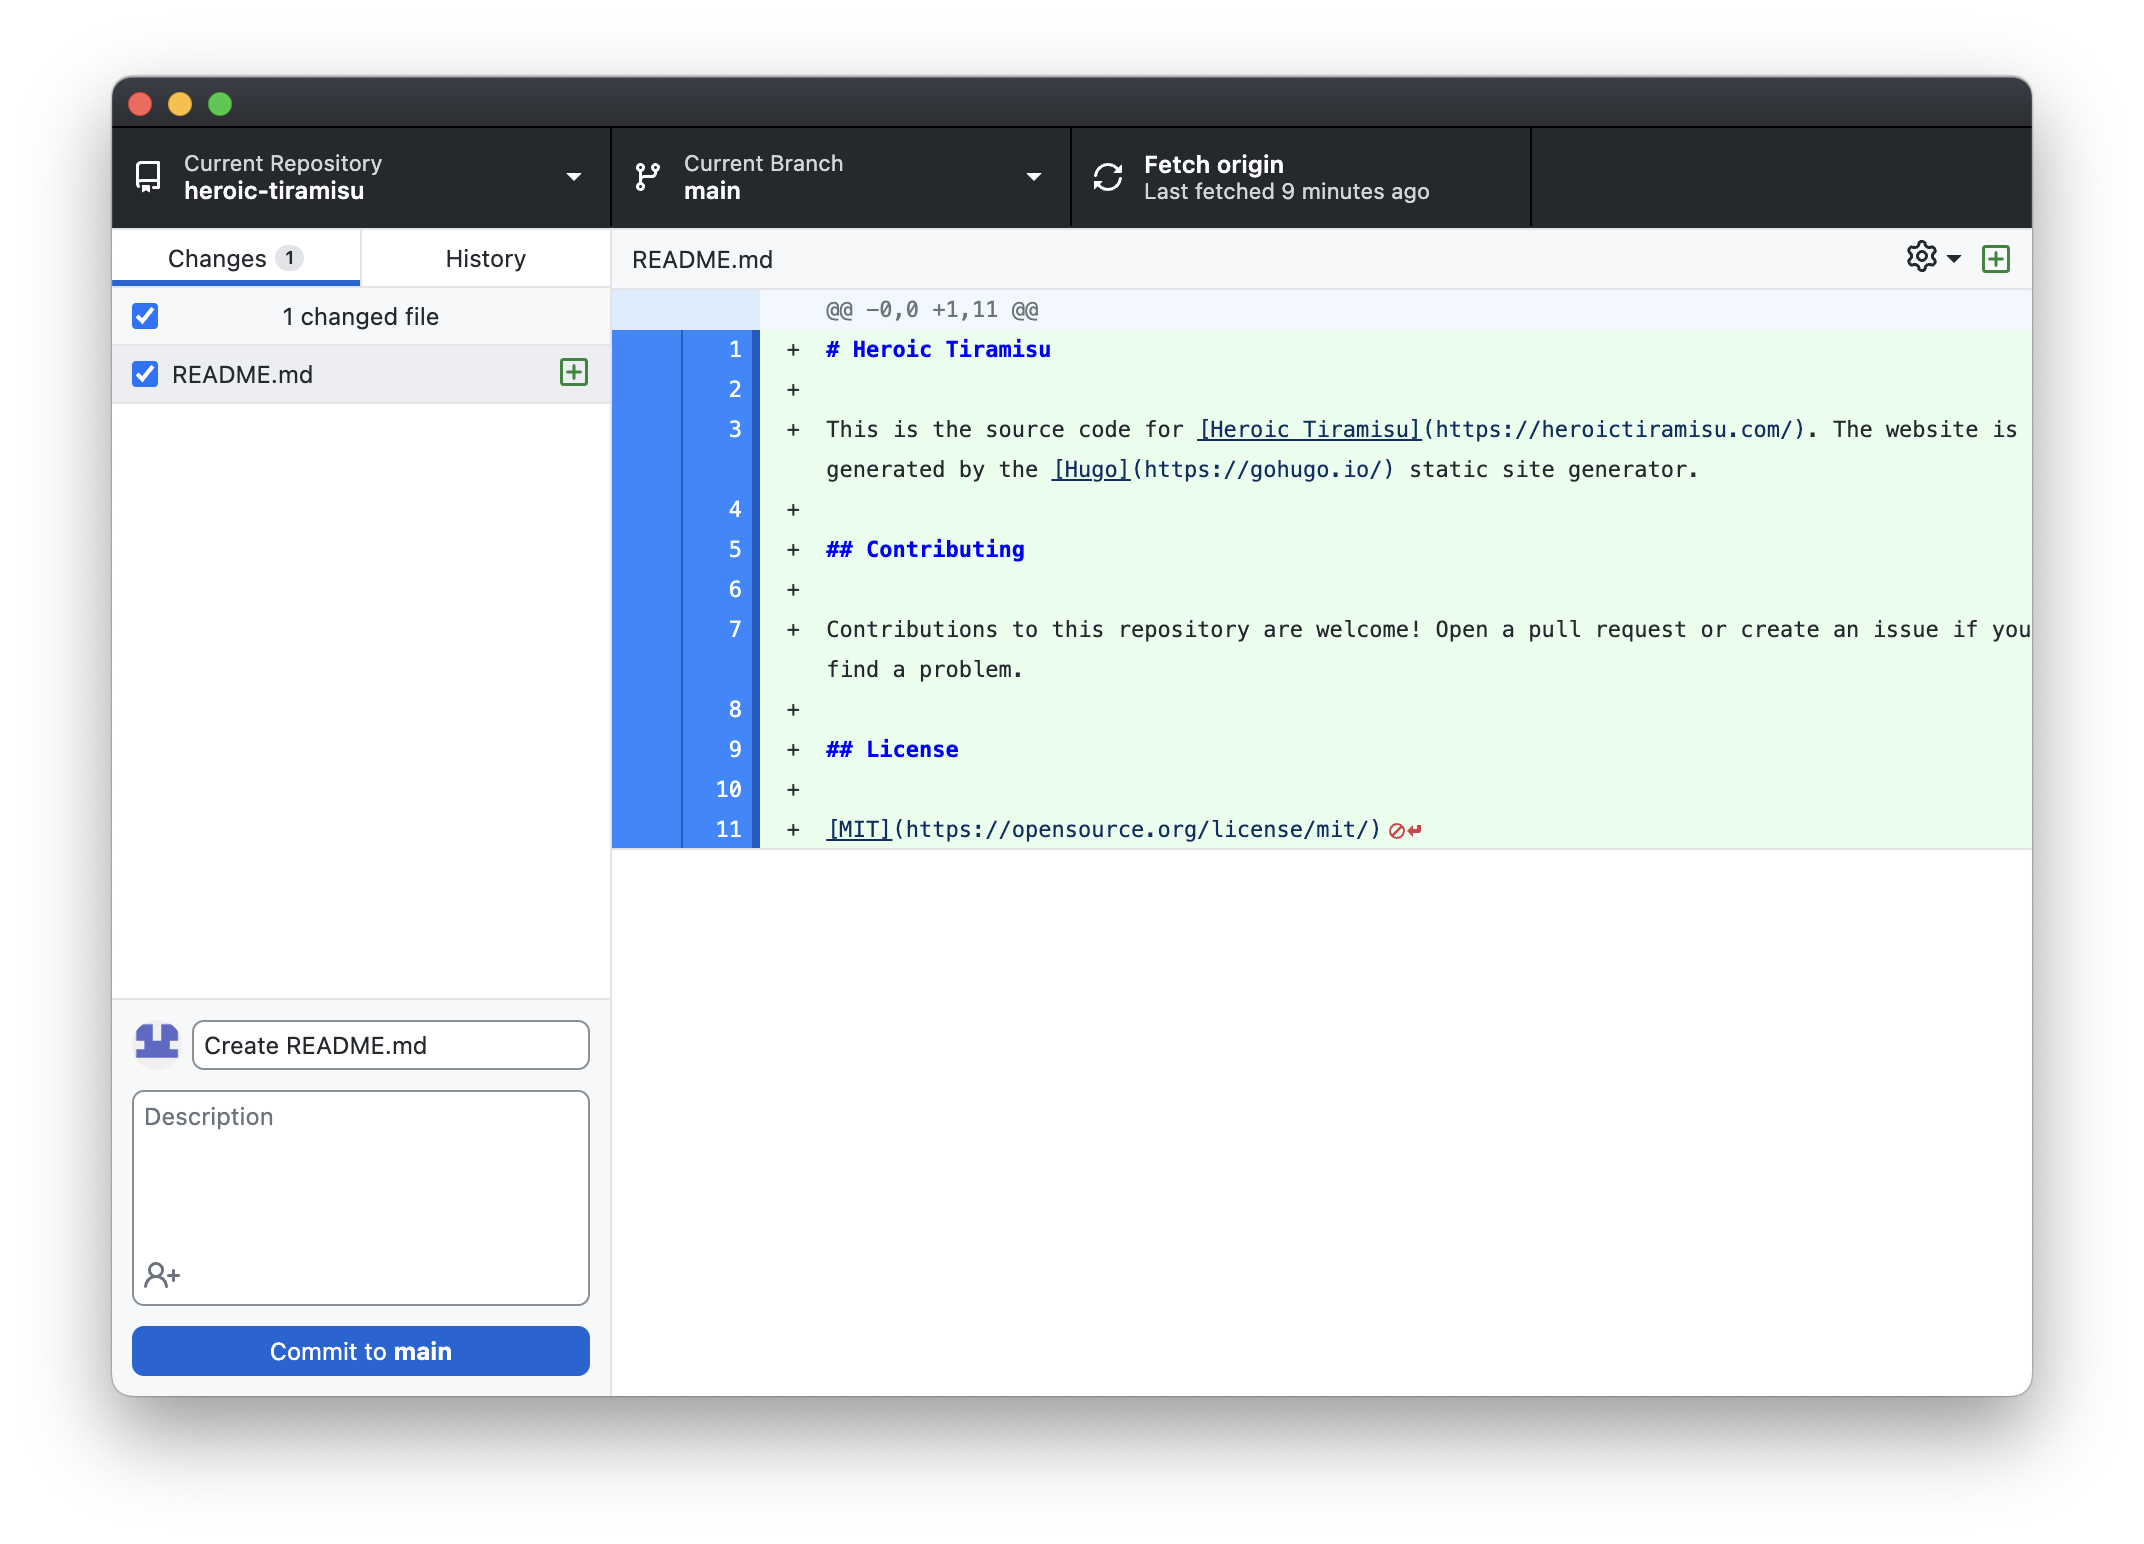
Click Commit to main to add the file to the repository on your computer, and then click Push origin to push the new file to GitHub.
Now if you view your repository’s webpage on GitHub, you’ll see the content of README.md displayed under the list of files, as shown below.
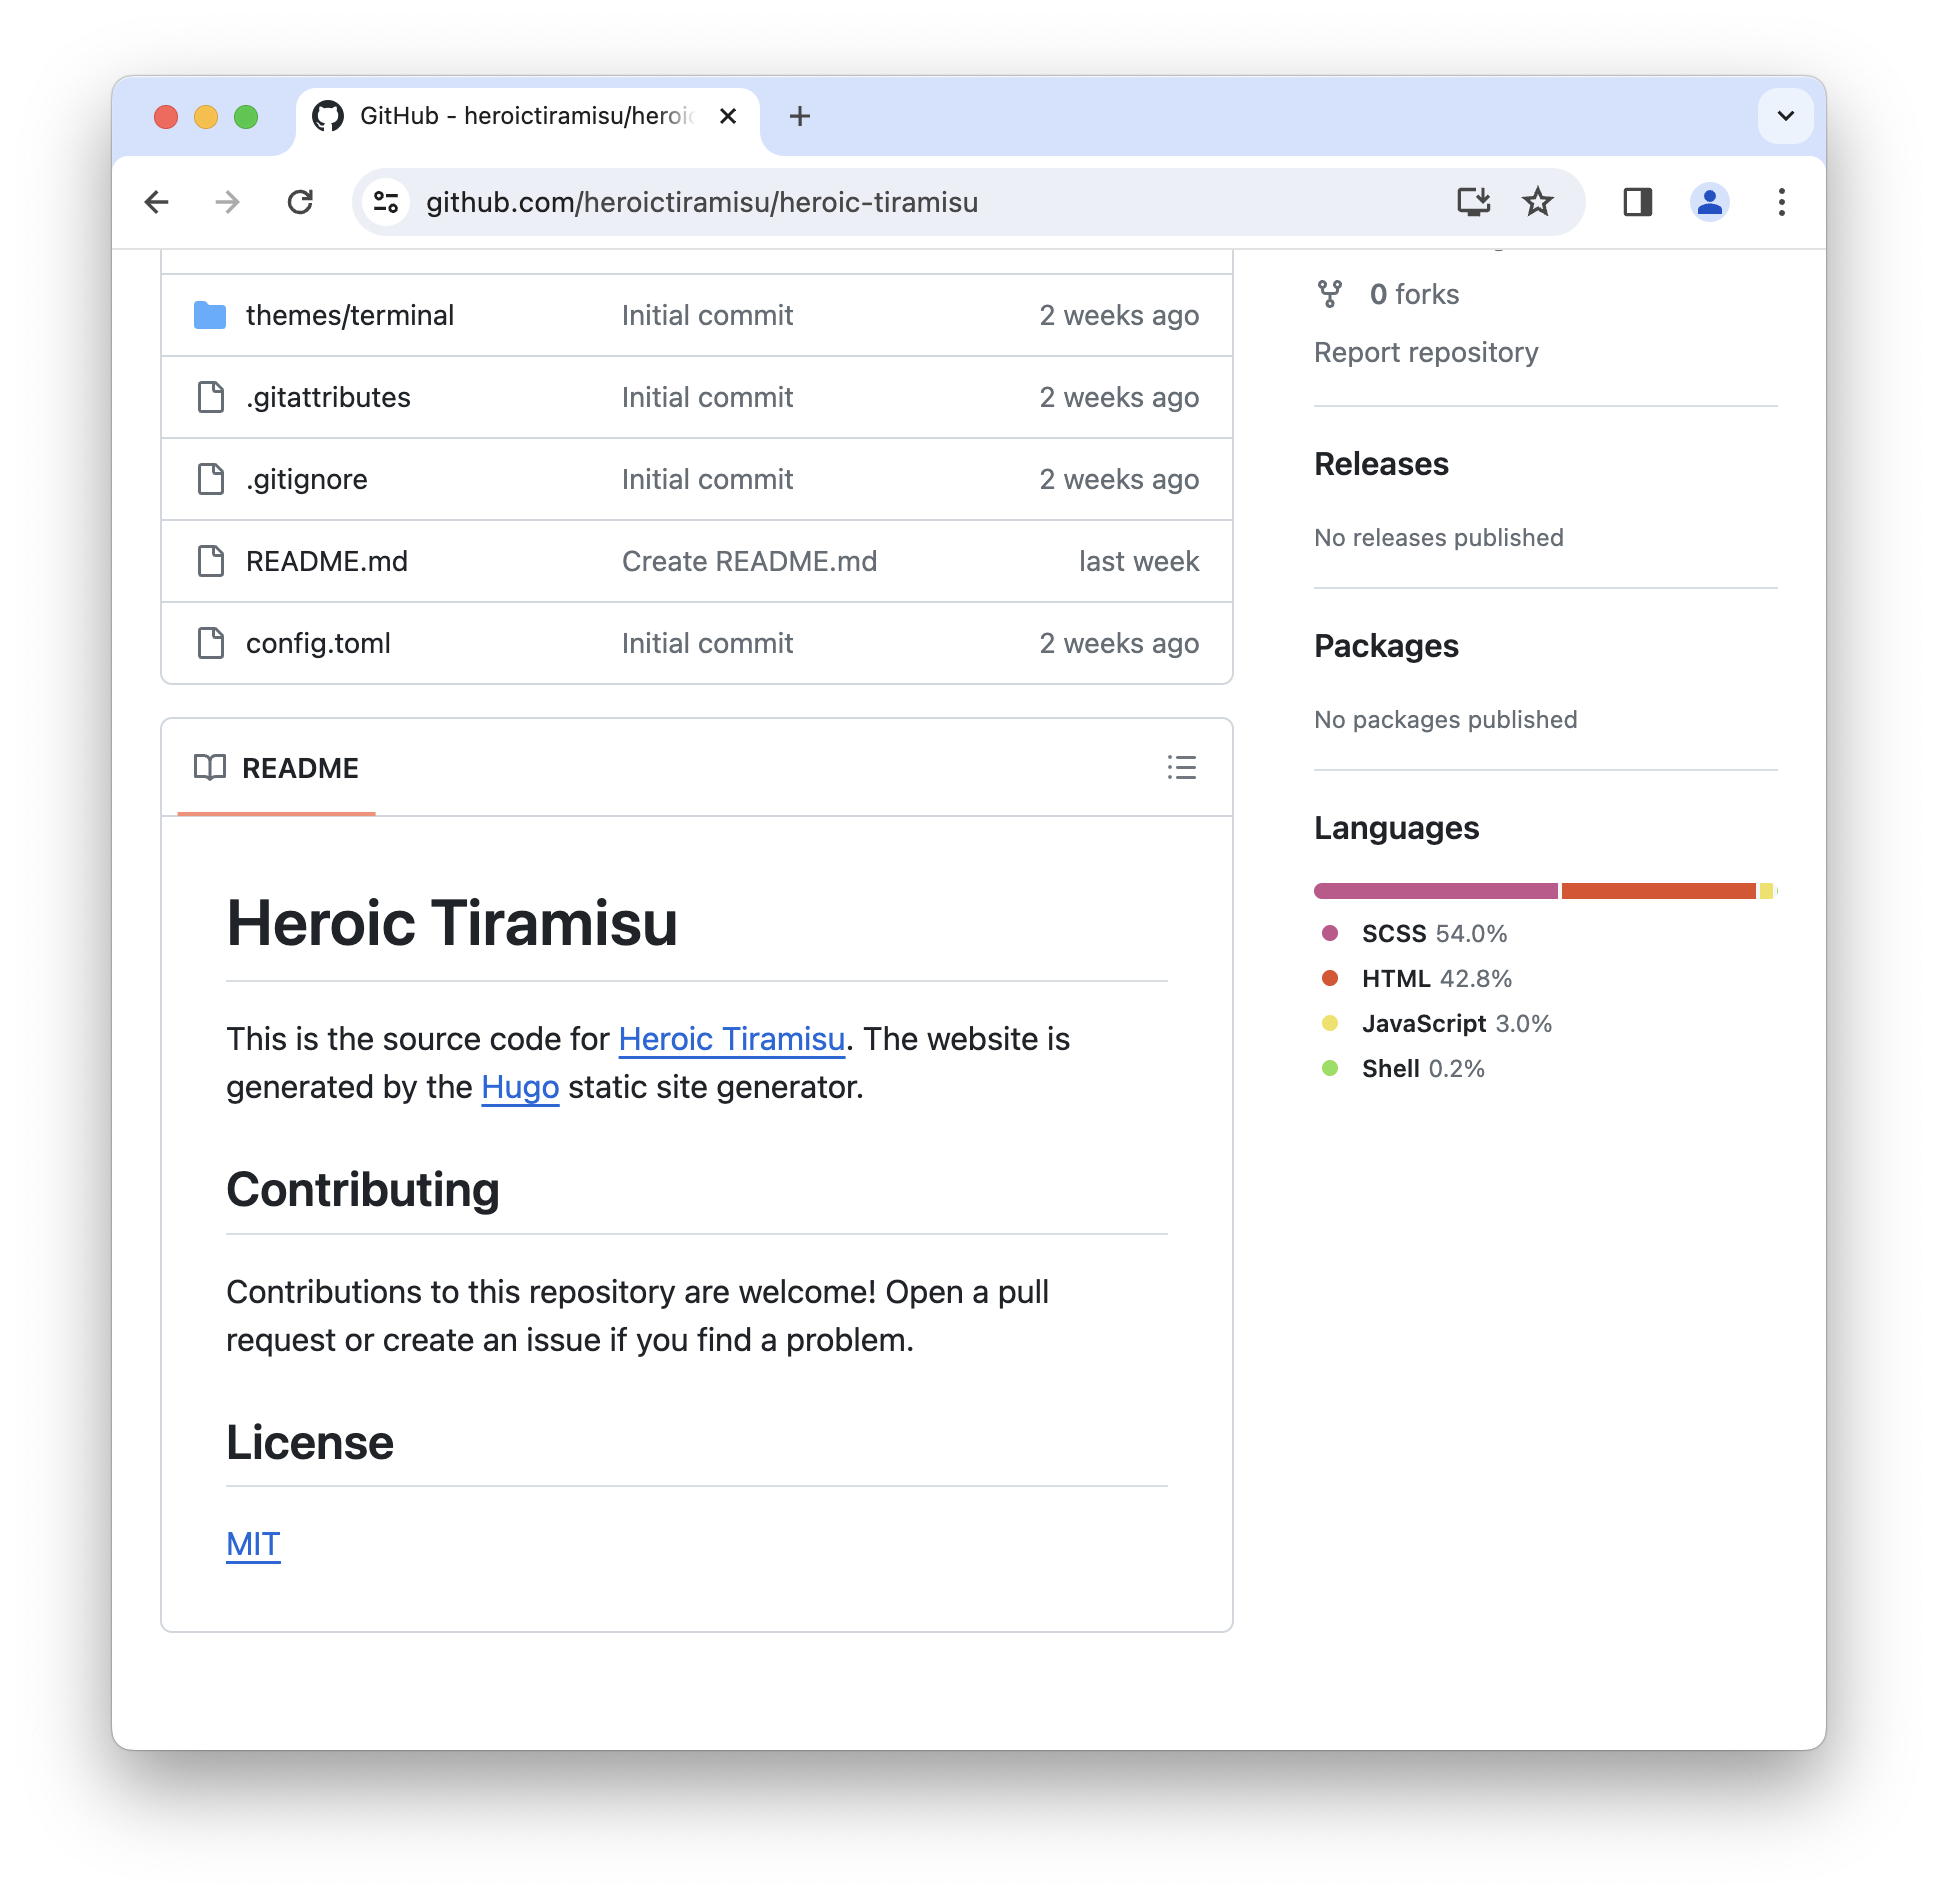
Nice work! You’ve added a new file to your Git repository and learned how to integrate Git into your workflow. You can use this process to add content such as blog posts and new pages or make cosmetic changes to your site, like CSS or theme updates.
Using Feature Branches and Pull Requests
We just updated the main branch of our repository. Working in and committing to the main branch is perfectly acceptable if you’re the only one contributing to your website and you complete one thing at a time. But if your friends or coworkers contribute to your website or if you want to work on several things at a time, you’ll want to use feature branches and pull requests. We’ll explore how those work in this section.
Feature branches are handy for making changes in an isolated environment before adding them to the main branch. Remember, the main branch is the source of truth for our Git repository. When we create a feature branch, we copy the main branch to make changes in what essentially amounts to a test environment. If we mess up our feature branch, it’s no big deal. We can delete it and create another one—our main branch would stay unchanged.
When we’re ready to add the changes in our feature branch to the main branch, we can push the feature branch to GitHub and open a pull request. A pull request is a webpage on GitHub where your friends or coworkers can review your changes. For example, an individual could propose changes to your code, and you could accept the changes instantly. When you’re finished working on the feature branch, you can merge the pull request to add the changes to your main branch.
Creating a Feature Branch and Adding a Blog Post
Let’s work through an example. Say we want to add a new blog post to our website. We’ll create a new feature branch called new-blog-post, add the file for the blog post, and then start working on the content. When we’re finished, we’ll push our new-blog-post branch to GitHub and open a pull request.
We can create the new branch in GitHub Desktop. From the Branch menu, select New Branch. Enter new-blog-post as the name for the branch, and then click Create Branch. That creates our new branch and checks it out so that it’s set as the active branch on our computer.
Now we can create the new blog post. Using VS Code, create a new file for the blog post and add content. If you need a refresher, refer back to Chapter 5. Your VS Code window should look similar to mine, as shown below.
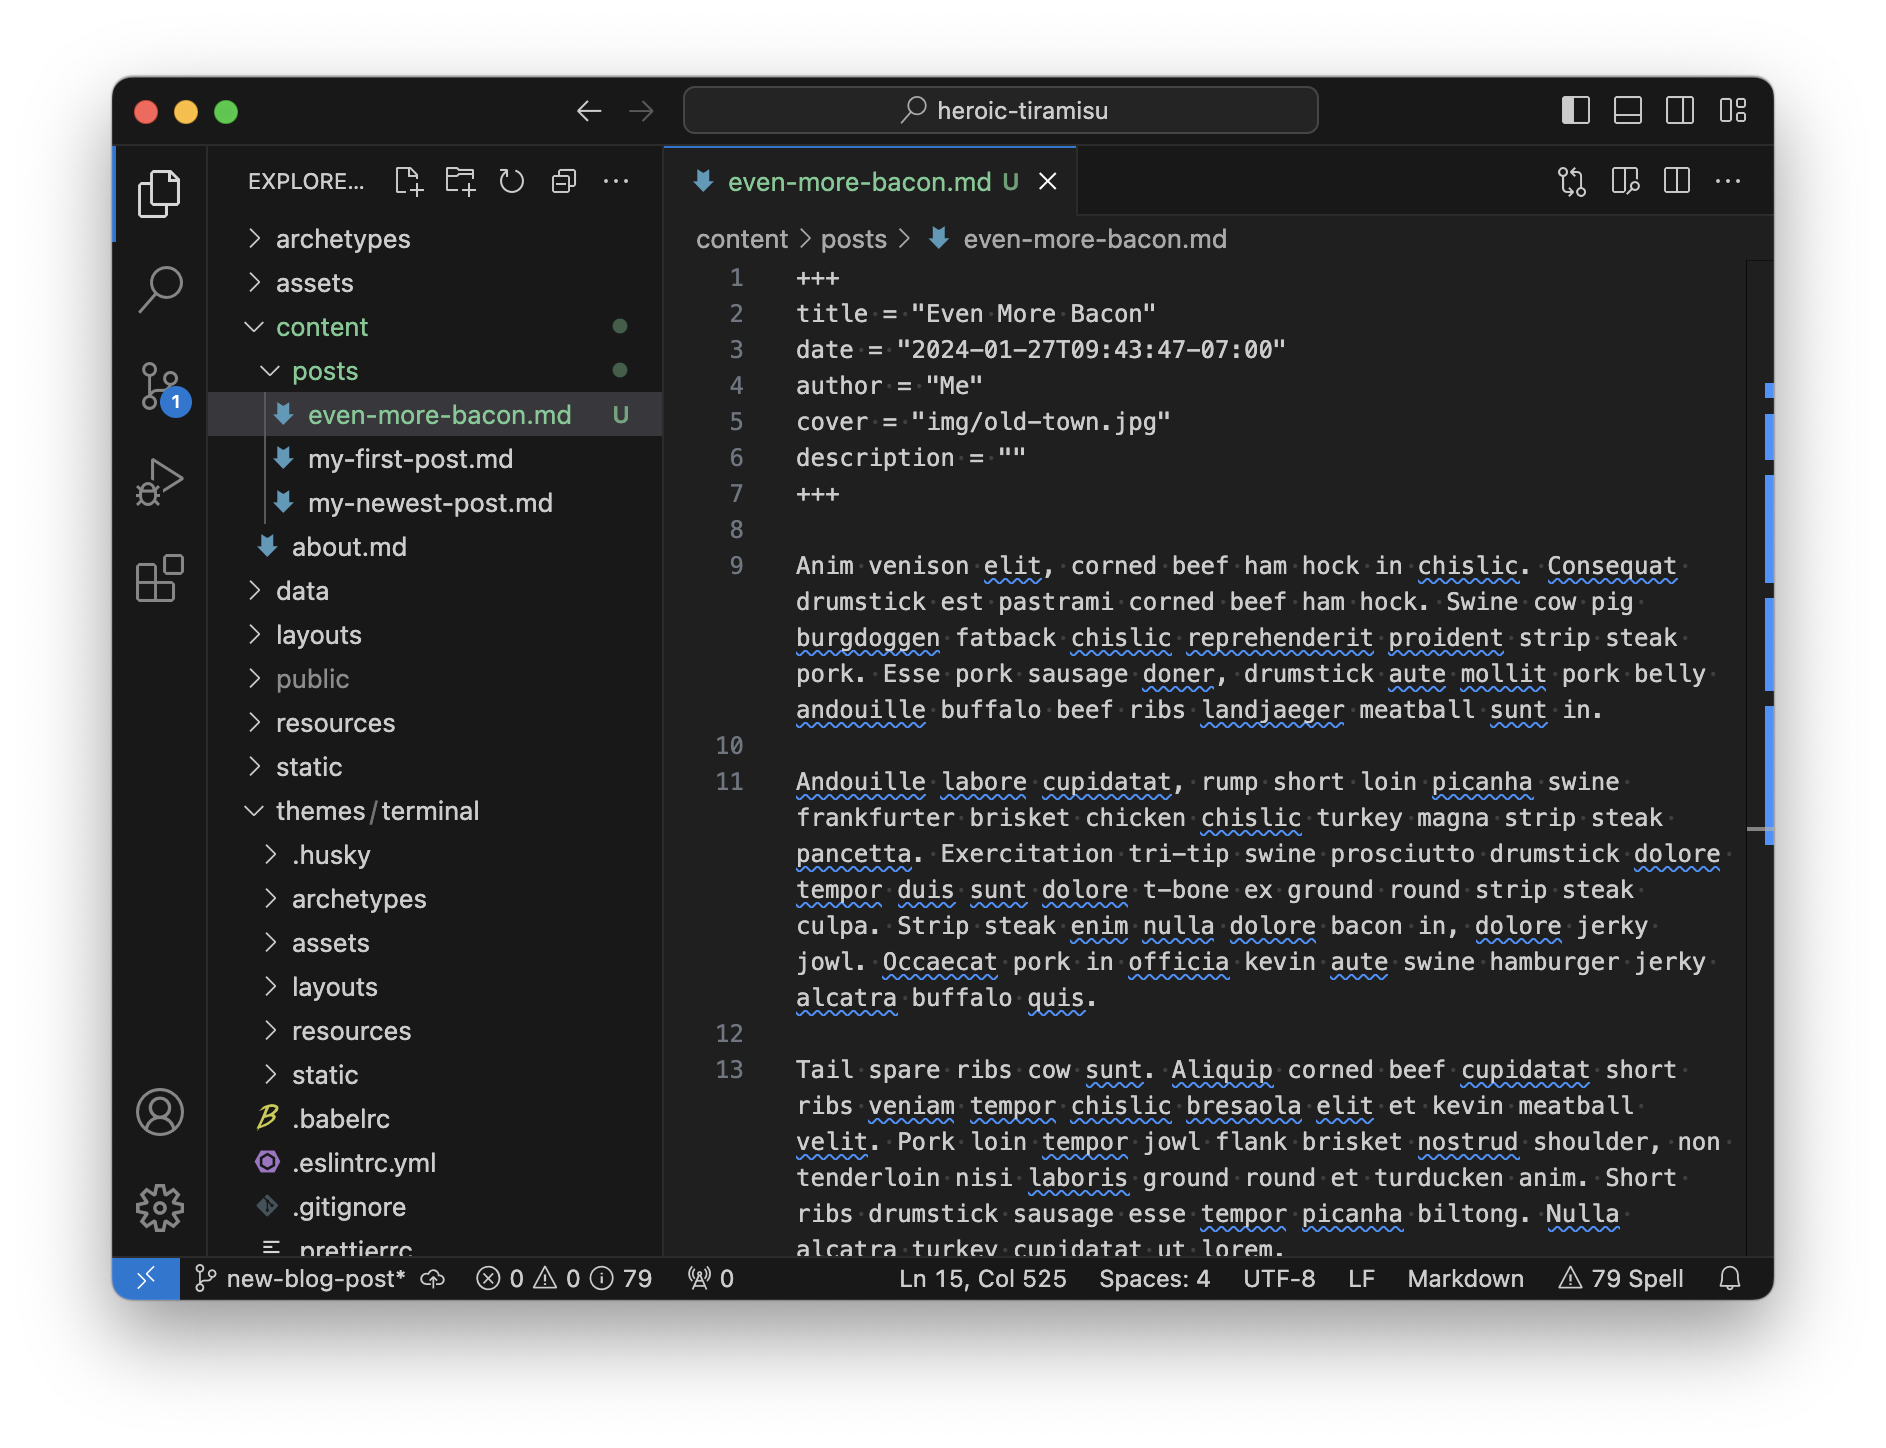
I want to draw your attention to the feature branch name displayed in the lower-left corner of the window. That visual indicator can help you verify that you’re working in your feature branch and not the main branch.
Back in GitHub Desktop, we’ll commit the changes to the new-blog-post branch and then push the new-blog-post branch on GitHub. You did this in the previous section for the change you made to the main branch—it’s the same process here, only now you’re performing the steps for the new-blog-post branch. Add a commit message, click Commit to new-blog-post, and then click Publish branch. The feature branch will be pushed to GitHub.
Opening the Pull Request and Merging the Changes to Main
Now we can create the pull request on GitHub to preview our changes and invite others to review them.
Before we do that, let’s review what we’ve done so far. We created a feature branch called new-blog-post, added a new file with our new blog post, committed the change, and pushed the feature branch to GitHub.
As a reminder, nothing we’ve done so far has modified any of the content in the main branch. We could delete the new-blog-post feature branch at this point and the new blog post would never be published on our website. Only after the pull request is merged will the new blog post be added to our main branch.
We can create the pull request in GitHub Desktop. Click Preview Pull Request, and then click Create Pull Request. The page shown below will open in your web browser.
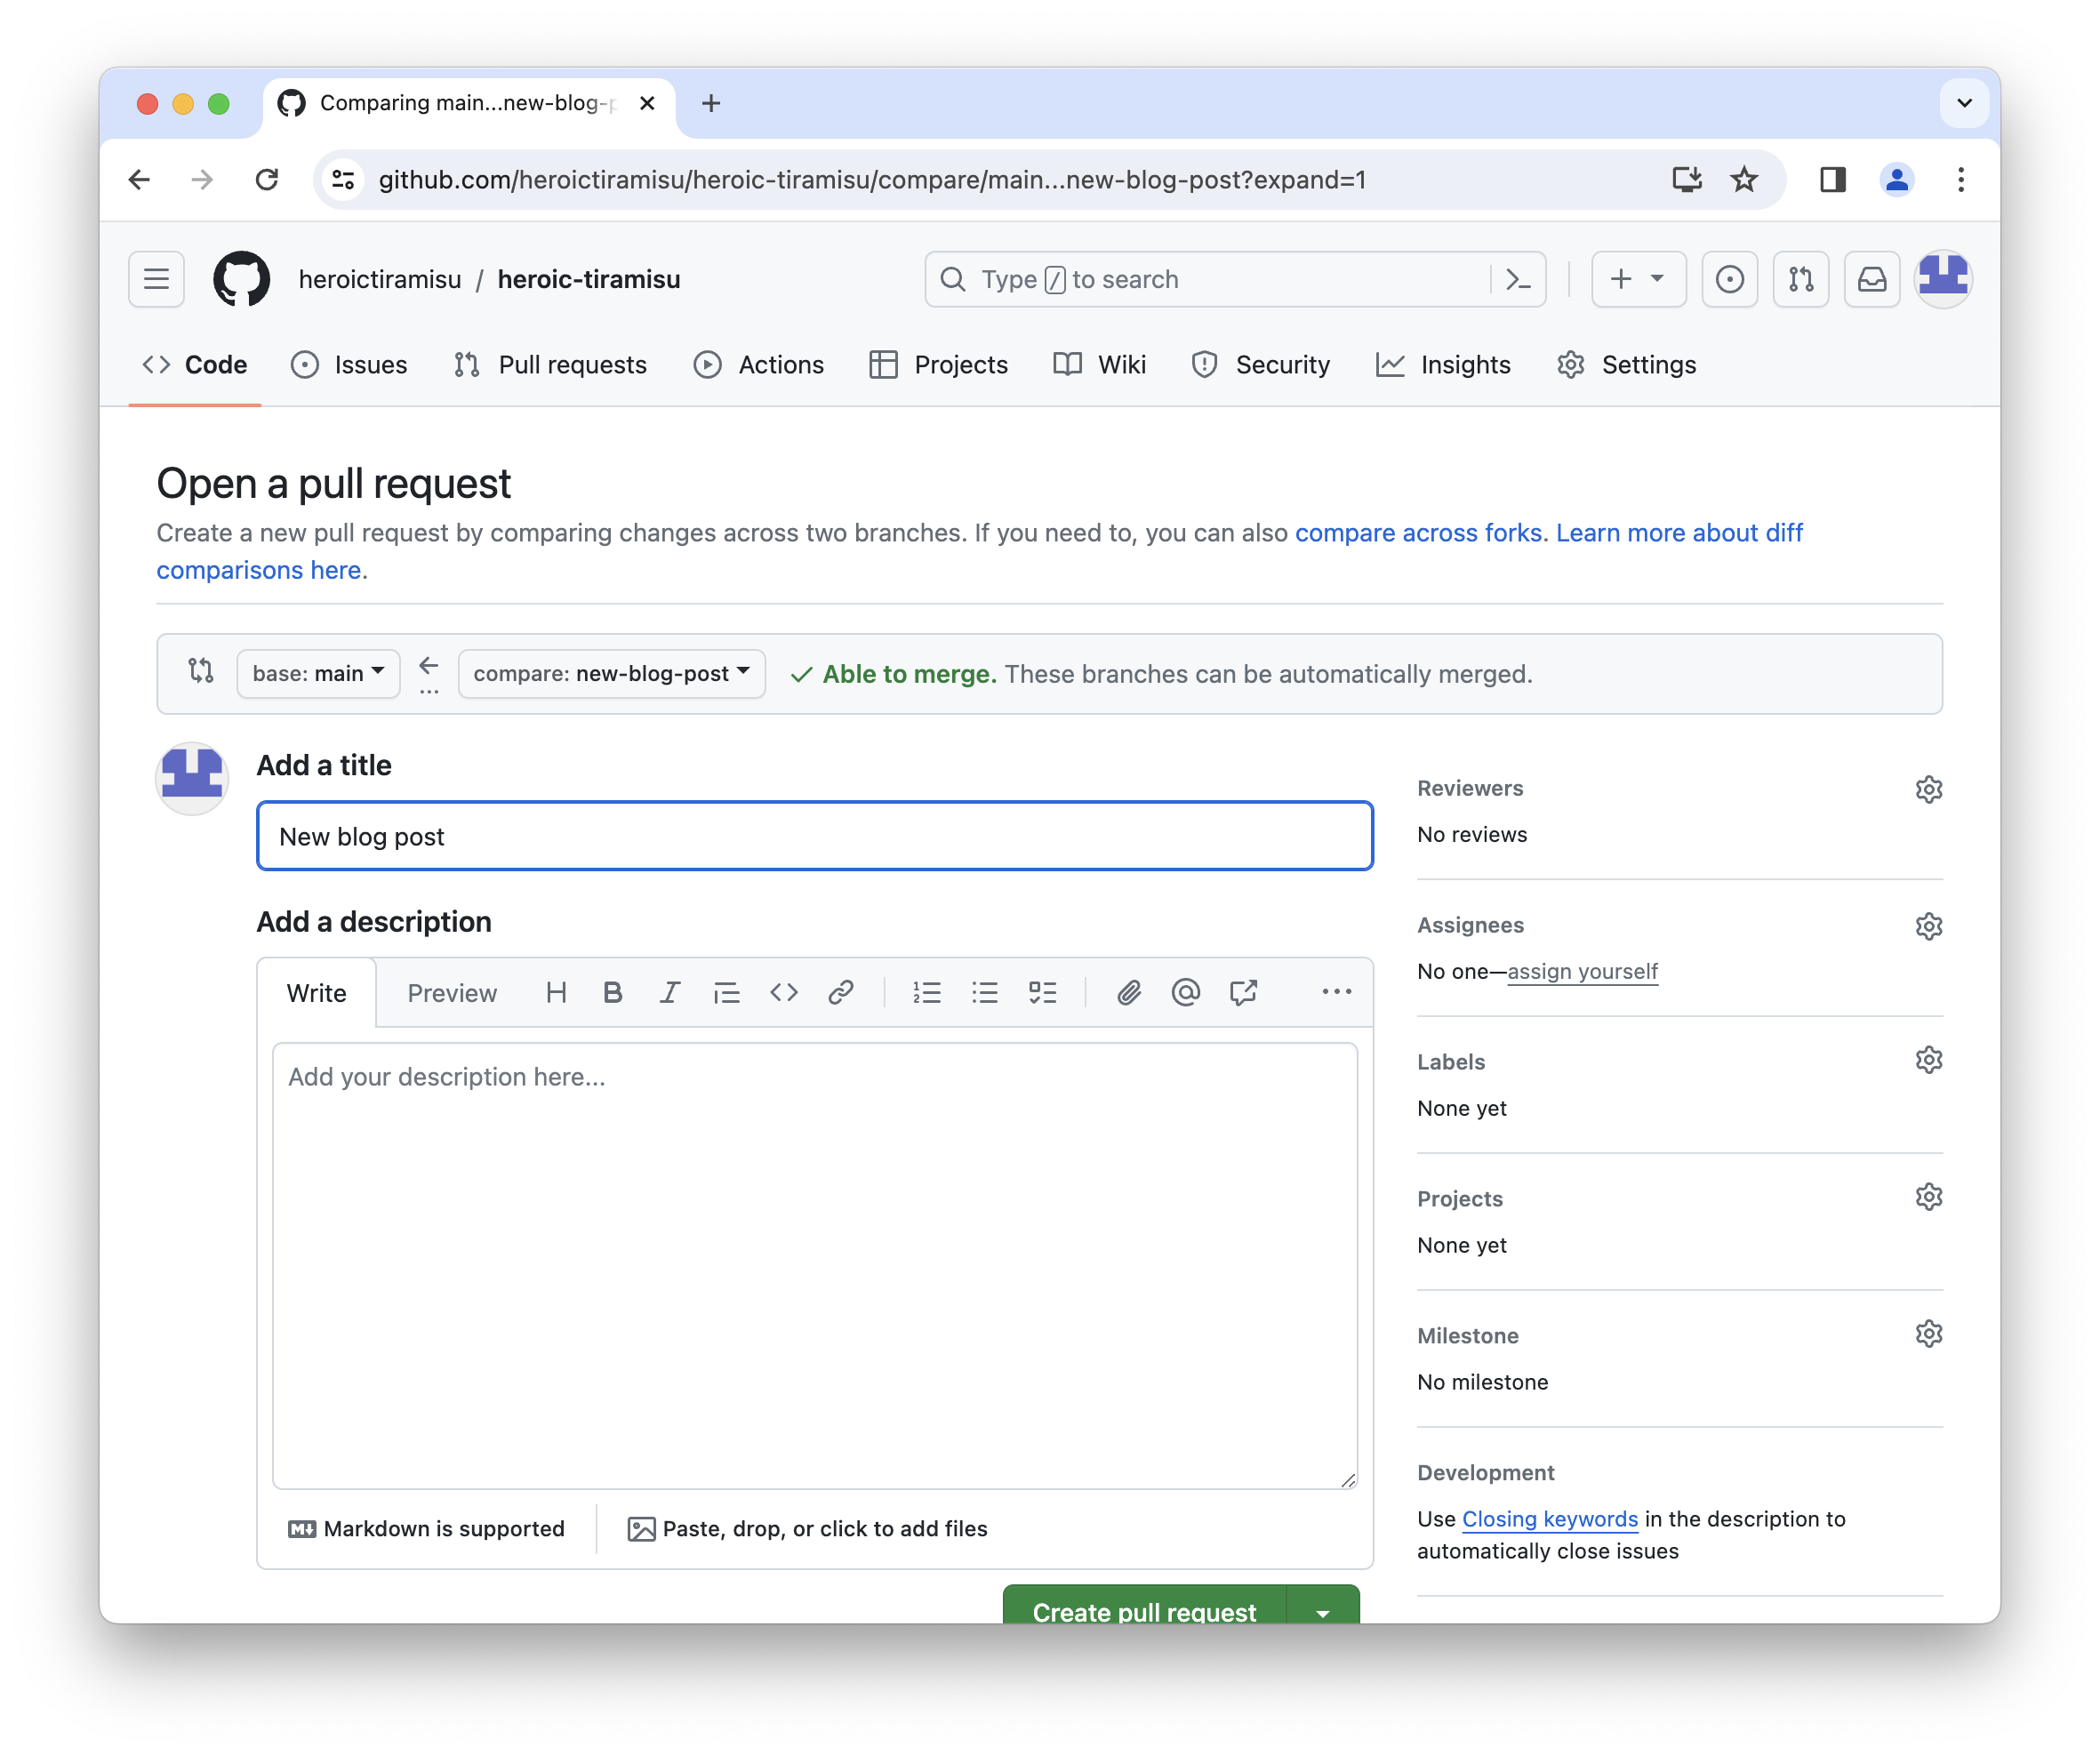
Enter a title and a description for the pull request. Most people use the description to explain the change and tell reviewers what to look for. When you’re finished, click Create pull request.
Now the pull request is a webpage with a permanent URL that you can share with others. If your website has other contributors, you could share the pull request’s URL at this point. Those contributors can comment on the pull request, suggest changes, and approve it.
💡 Tip: For more information about pull requests and how to use them, refer to GitHub’s documentation on pull requests.
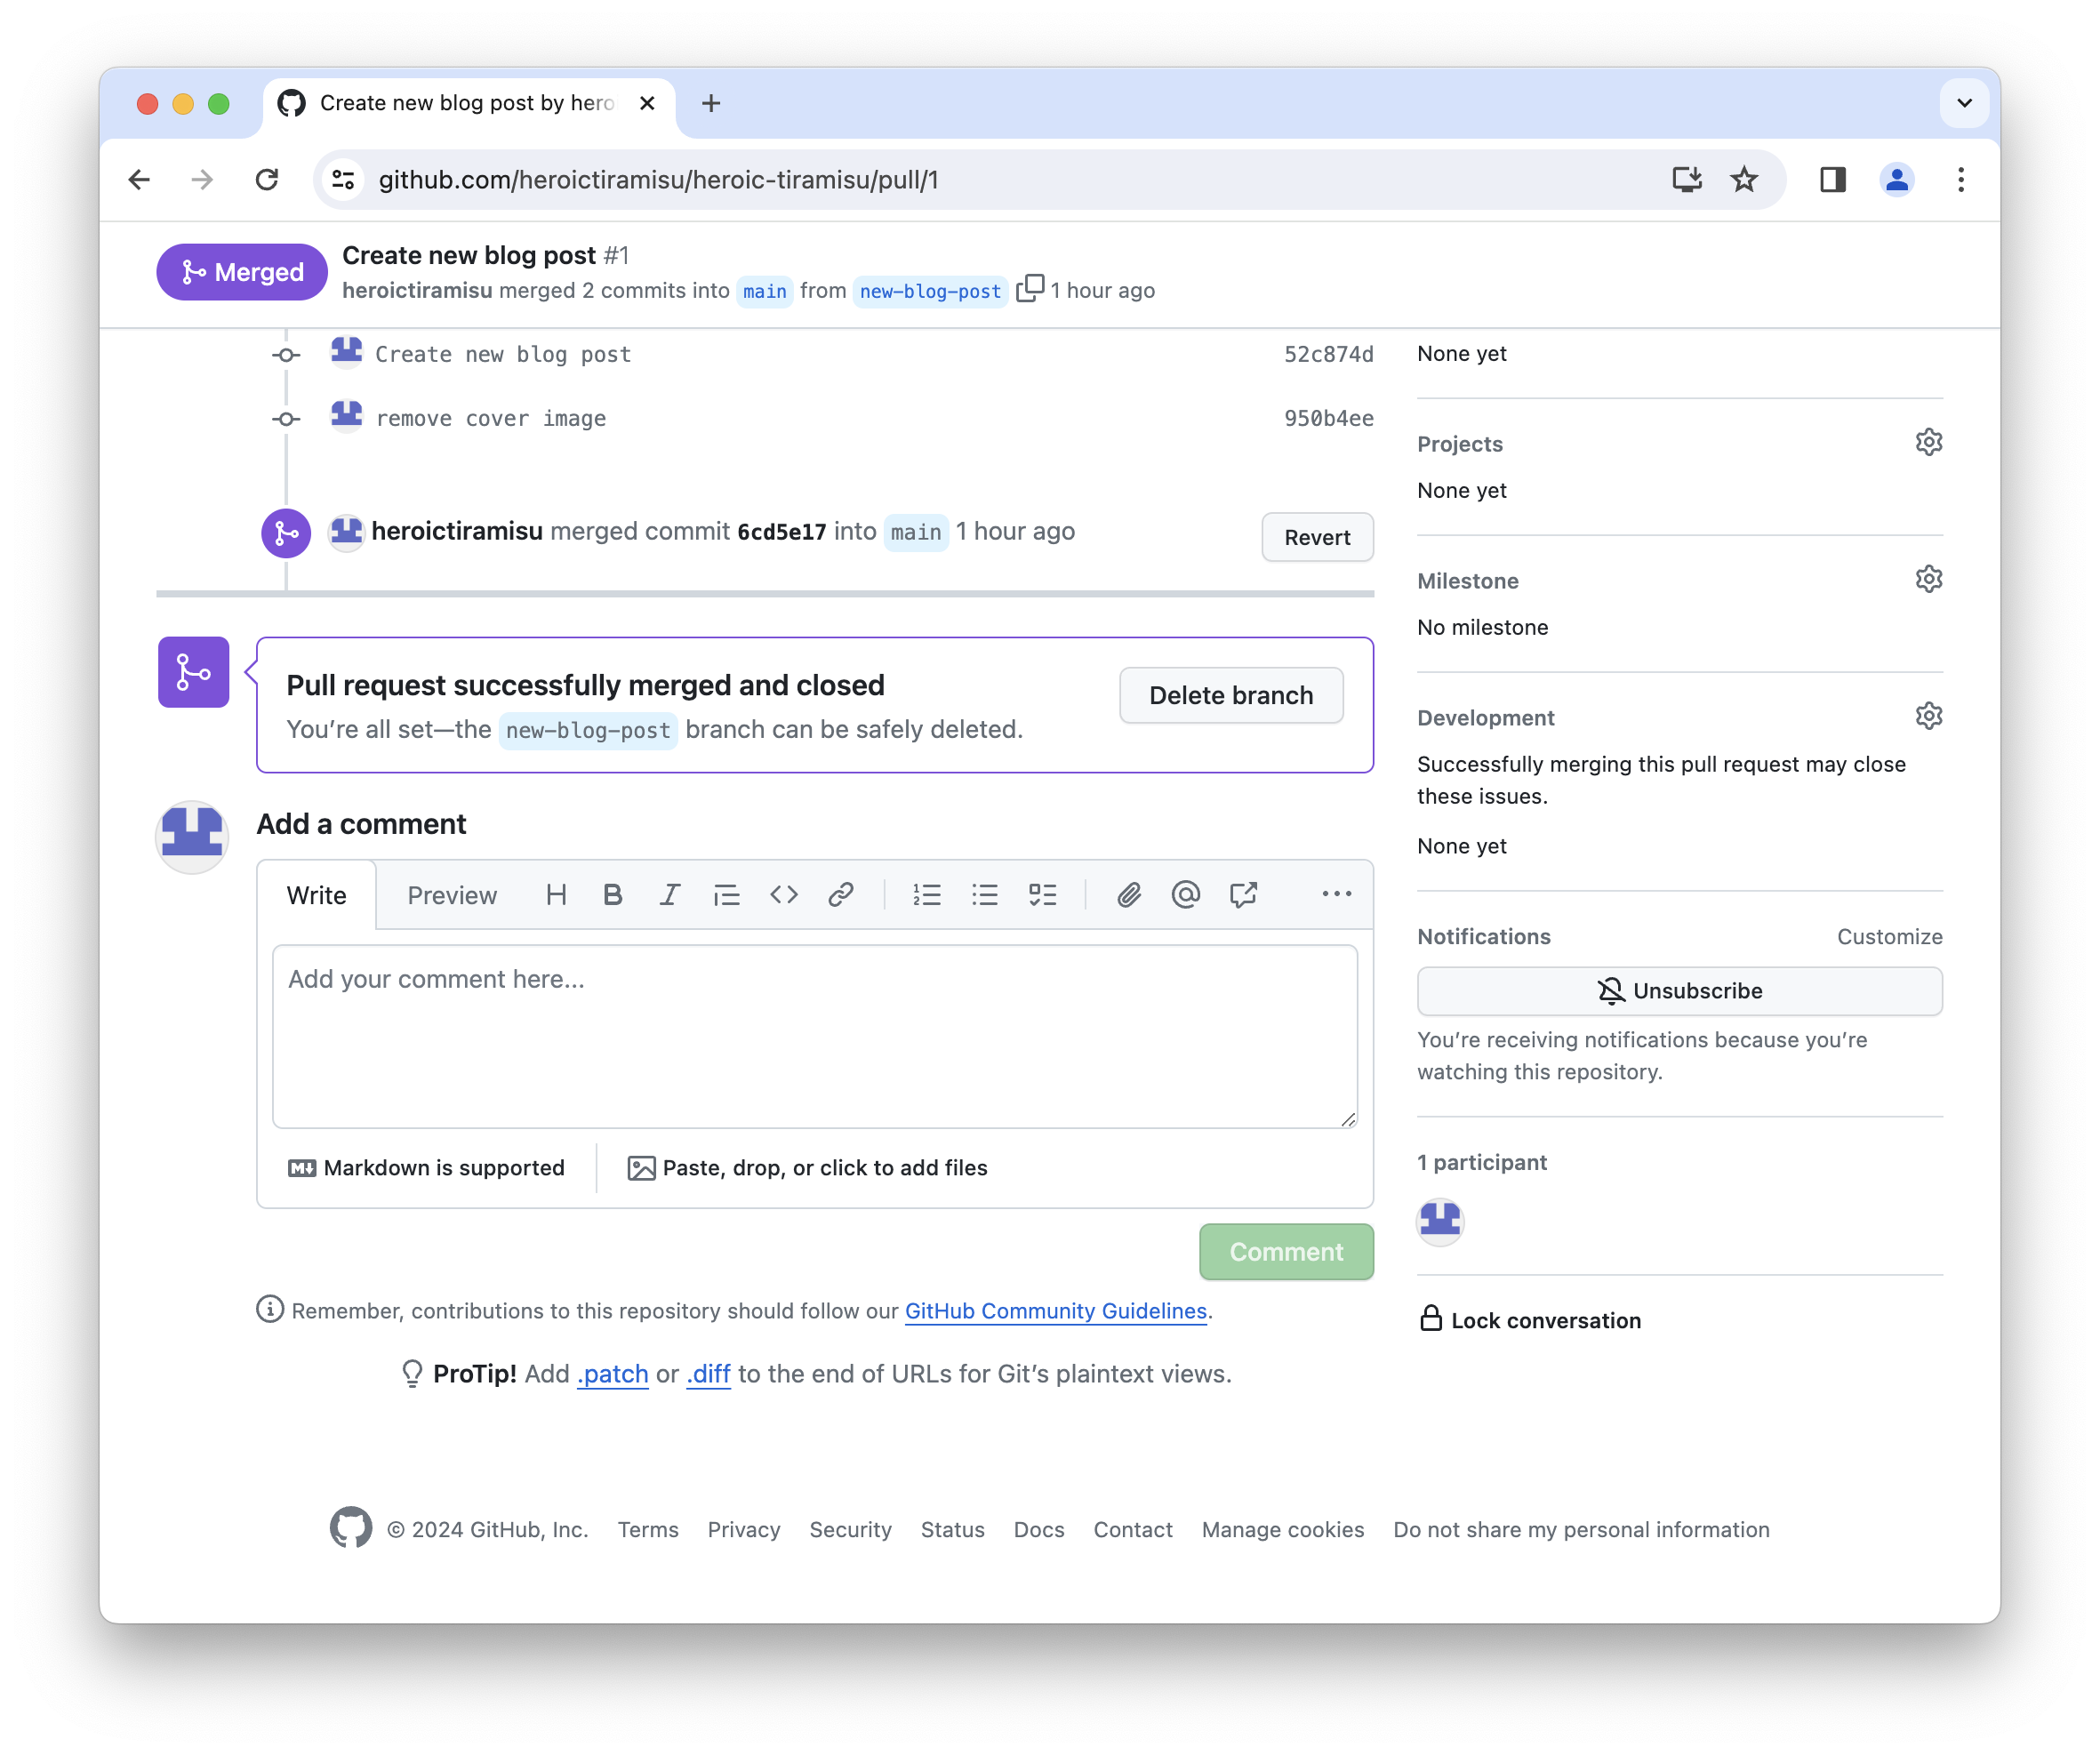
When you’re ready to merge the changes into the main branch, click the Merge pull branch button, as shown below.

We’ve merged the pull request with the changes in the new-blog-post feature branch into the main branch. The new blog post is now officially part of our website.
Pulling the Changes to Our Computer
GitHub’s instance of our repository has the changes we just merged, but our computer’s instance doesn’t. We need to pull the changes from GitHub to our computer’s instance of our repository. We can do this with GitHub Desktop.
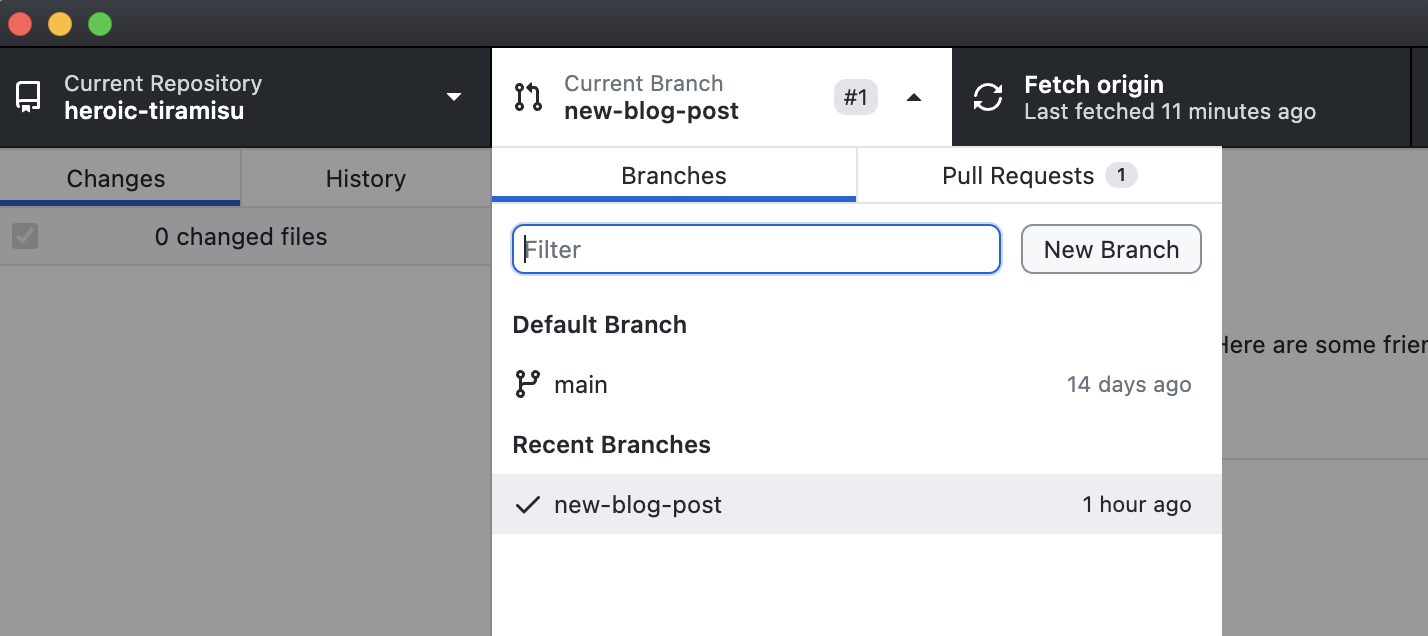
In GitHub Desktop, switch to the main branch. Click Current Branch and select main, as shown below.
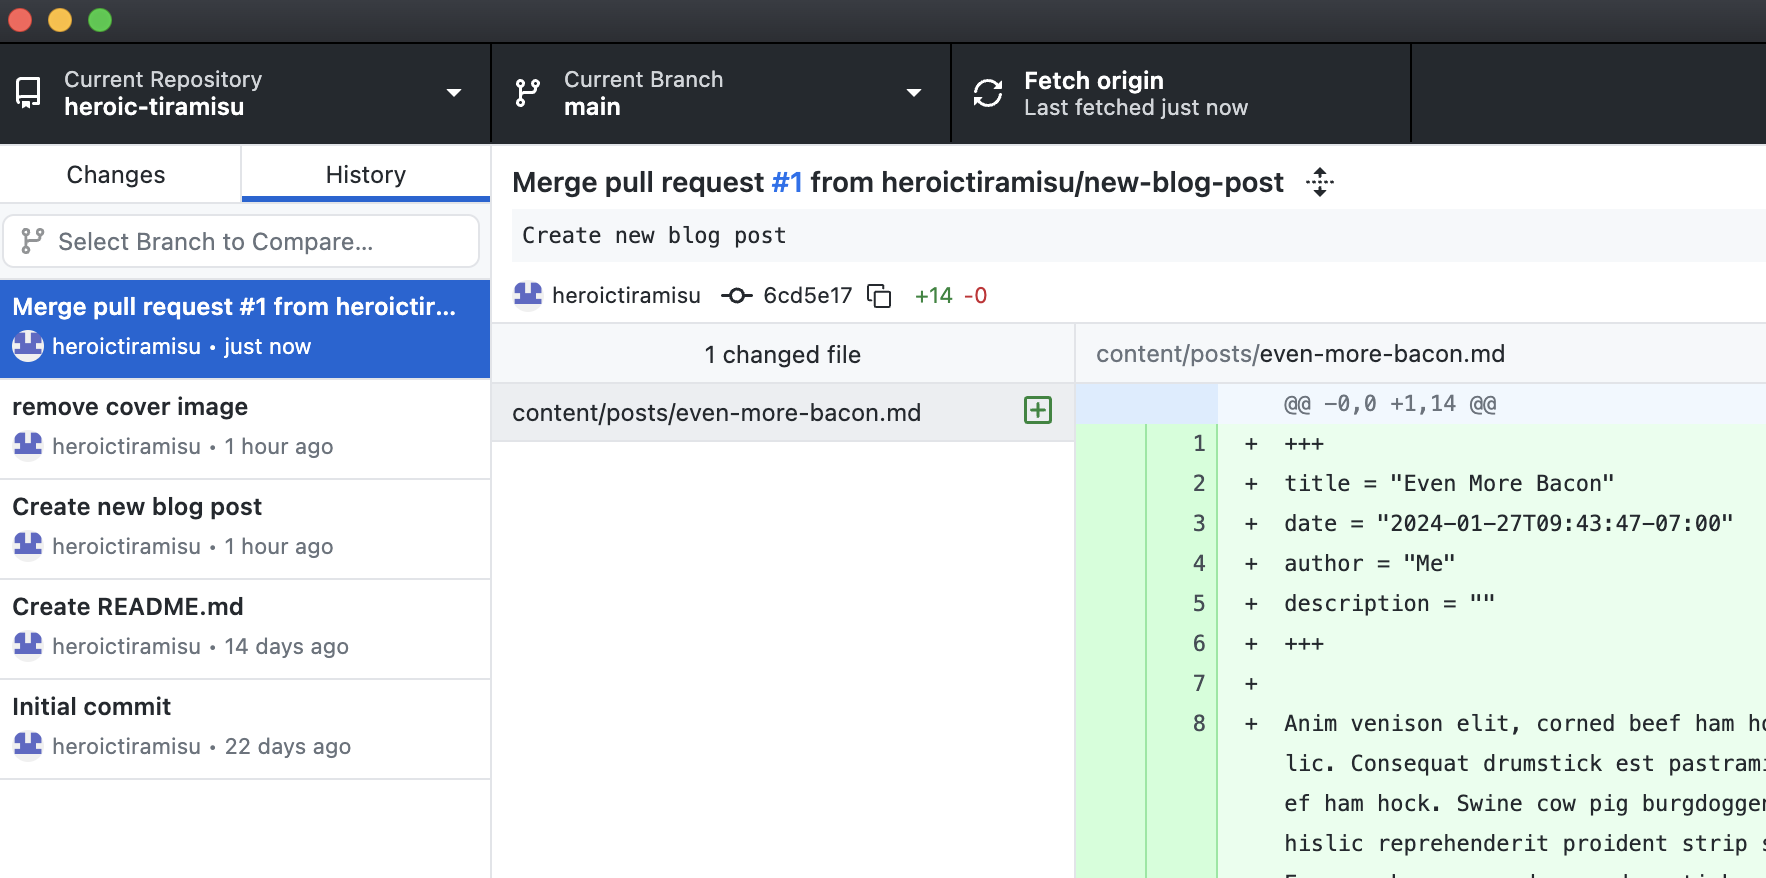
Then click Fetch origin to pull the changes from GitHub to your computer. You can review all of the commits you’ve made to the main branch by clicking the History tab, as shown below. You should see the changes from the pull request we just merged.
Now our computer’s repository is in sync with GitHub’s instance of our repository. If you’d like to see the new blog post in your web browser, you could preview the website.
Deleting the Feature Branch
One thing I didn’t tell you about feature branches is that you can create as many of them as you want. They’re transitory and disposal, like scratch paper in an old notepad. Once you merge a pull request, it’s safe to delete the feature branch. Deleting the feature branch on GitHub and our computer is the last housekeeping item we need to tend to in this section.
On GitHub, we can delete the branch from the webpage for our pull request. Click the Delete branch button near the bottom of the page, as shown below.
On our computer, we can delete the branch using GitHub Desktop. Click Current Branch and select new-blog-post, then select Delete from the Branch menu.
Next Steps
Pat yourself on the back! You’ve successfully implemented the Git version control system for your website. Changes to your files are being tracked, and your repository is remotely stored on GitHub. It’s not an exaggeration to say that you’re using the same versioning system used by major technology companies and Fortune 500 corporations.
You’ll sleep well knowing that your files are protected from accidental changes and disasters. If your three-year-old child starts mashing your keyboard while you’re taking a coffee break, destroying your code in the process, you can roll back to the previous commit. If (heaven forbid) your house burns down and your laptop melts, you’ll still have all of your files on GitHub.
Now for the bad news: Because we couldn’t cover everything in this chapter, you still have lots to learn about Git. For example, you’ll probably need to learn how to resolve merge conflicts in the future. Take your time! You already know enough of the basics to start using Git now. When you decide you’re ready to learn more about Git, refer to the additional learning resources I shared at the beginning of the chapter.
Concentrate on integrating Git into your workflow. Get used to creating feature branches, committing your changes, opening pull requests, and pushing to GitHub. Mastering this process can be frustrating, but stick with it—practice makes perfect.