The Static Site Guide • Chapter 2
Publishing Your Web Page
You can see your web page in a web browser, but it’s currently only visible to you, an audience of one. To publish it on the internet, you need two things: a publicly available server that can hold all of your website’s HTML files and assets, and a domain name that people can type in their web browser’s address bar to reach your website (for example, mywebsite.com).
This is known as the client-server model. A user with a device and a web browser, referred to as a client, requests the web page from the server. The server responds by sending the client all the assets the web browser needs to build the web page. The process is shown below.

In the not-so-distant past, publishing a website on the internet meant setting up a web server or signing up for a shared hosting plan. You can still do that, but I don’t recommend it. There are better options now—options that will save you a lot of time, effort, and money. Thanks to a company called Netlify, you can drag and drop your website’s directory onto a web page and it’ll be published in seconds, for free. We’ll use this option.
Publishing your web page now might seem premature, especially since there’s nothing on it yet, but it’s a good practice to start deploying early and often. We’ll continue deploying the web page throughout this book.
Uploading Your Web Page
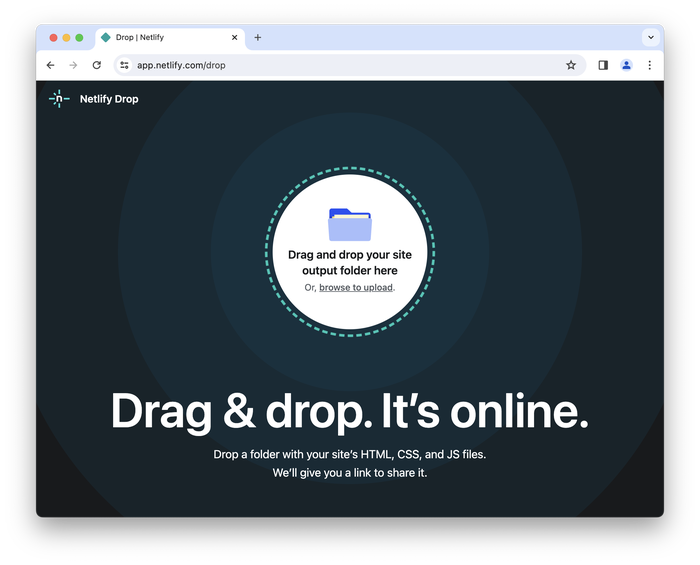
Are you ready? Let’s upload your web page! Visit https://app.netlify.com/drop and you’ll see the following website.
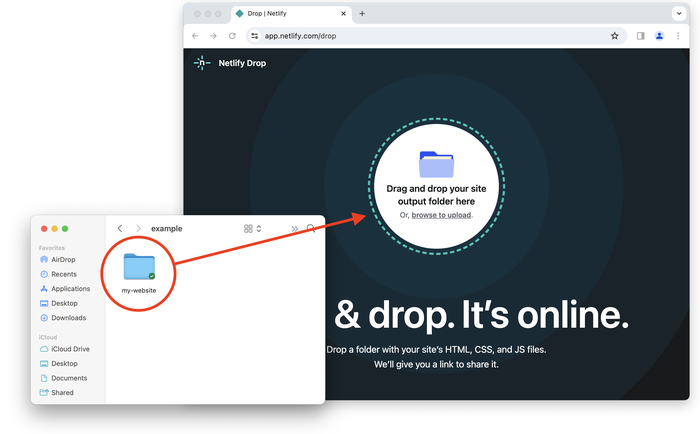
Drag and drop the my-website directory from your computer into the circle on the Netlify website, as shown below.
Netlify will upload your website to its servers and create a domain name. It will also generate a password you’ll need to access the site. Remember the password. You’ll need it to visit your website.
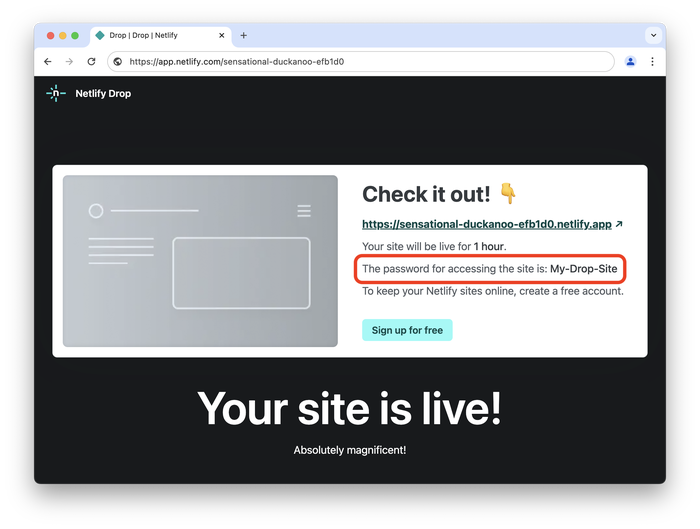
That’s it! Believe it or not, your web page is now publicly available on the internet.
Visiting Your Web Page
Netlify generated a random, unique domain name for my website: https://sensational-duckanoo-efb1d0.netlify.app. If you’re following these instructions, Netlify generated a domain name for you, too. Go ahead and open the domain name Netlify generated for you. After you enter the password, you should see your website, as shown below.
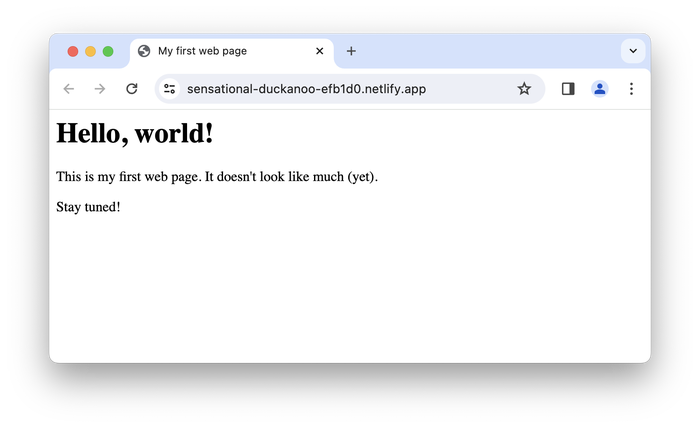
Notice the URL in the address bar of the web browser—that’s the domain name for the website hosted on Netlify’s servers. We could give this to anyone on the planet and they could access our website!
Creating a Netlify Account
Netlify will only host our website for an hour unless we create an account, so let’s do that now. It’s free and there’s no obligation. On the Netlify Drop page, click the Sign up for free button.
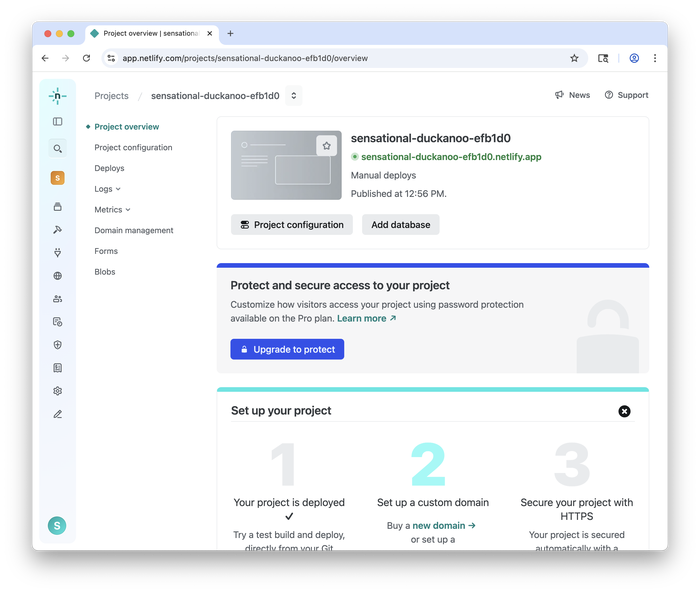
This book won’t cover the Netlify sign-up process, but it’s straightforward. After you create a Netlify account, you’ll see your website listed on the Site overview page, as shown below.
Netlify has many features and settings you can configure, but don’t worry about those just yet. For now, just celebrate your success: You’ve published a website on the internet!